By
Justin SabrinaUpdated on June 19, 2025
Summary
Are you seeking for a way to transfer Apple Music to external hard drive? This is a detailed guide or people curious about saving Apple Music songs to an external hard drive or USB drive for backup and playback.
In today's digital world, many users rely on streaming platforms like Apple Music to enjoy their favorite songs and albums. The biggest benefit of Apple Music subscription is that you can download songs, albums, playlists to listen offline. This provides maximum convenience to those users who are in very weak signals. However, you will lose all your downloaded Apple Music tracks when your subscription ends. For another, once you download a large number of Apple Music tracks, your device will easily run out of storage space. Therefore, backing up your Apple Music is essential. Here comes the question, Can you transfer Apple Music to external hard drive?
Of course! In this article, we'll delve into the specific procedures on how to save Apple Music to external hard drive permanently, making your Apple Music playback experience more convenient and flexible. Read on to learn more!
CONTENTS
Part 1. Why Back Up Apple Music to an External Hard Drive?
Apple Music is a subscription-based service, you can access its library on your devices at will. However, you should note that you don't technically "own" the songs - even if you download them for offline use. Those Apple Music downloads are just cache files. Once your subscription ends, you won't be able to access to downloaded songs. To ensure long-term access to your music library, it makes sense to save Apple Music to an external hard drive.
Here are the benefits of using external storage space for backups:
Offline Listening Without Subscription – Enjoy your favorite tracks even after your Apple Music plan ends.
Device Flexibility – Play your Apple Music on non-Apple devices or transfer to MP3 players, car systems, etc.
Storage Expansion – Free up space on your computer, iPhone, iPad, Android and other devices. Easily store tons of Apple Music songs on your external hard drive!
Archival Security – Safely store rare or customized playlists long-term, without worrying about your favorite playlists disappearing from Apple Music library.
Convenient Sharing – Share your favorite Apple Music tracks with friends, family or across devices without Apple Music Family plan.
Backing up your Apple Music files means you're no longer tied to streaming rules, app updates, or Apple's subscription model. Whether you're a casual listener or a die-hard audiophile, learning how to move Apple Music to external hard drive for backup can give you more freedom and peace of mind. Scroll down to get the detailed guide.
Part 2. How to Download Apple Music to Computer (MP3 Files)
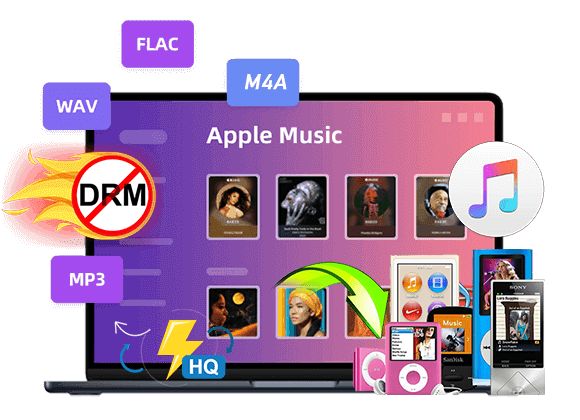
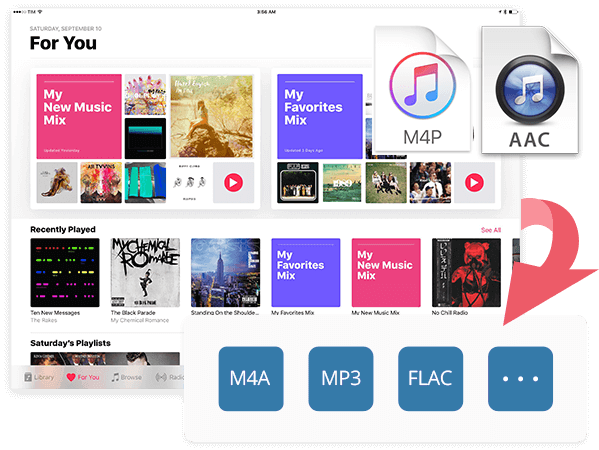
Generally, the downloaded Apple Music tracks are saved in encrypted M4P format with DRM protection, which are not compatible with external hard drives. To bypass these restrictions, you need a third-party tool to help you download Apple Music to local MP3 files. UkeySoft Apple Music Converter is a good option for you.
Tools You Need to Save Apple Music to External Hard Drive:
- An external hard drive with enough space
- A USB cable
- A Computer running Mac OS or Windows OS
- UkeySoft Apple Music Converter for Windows or Mac
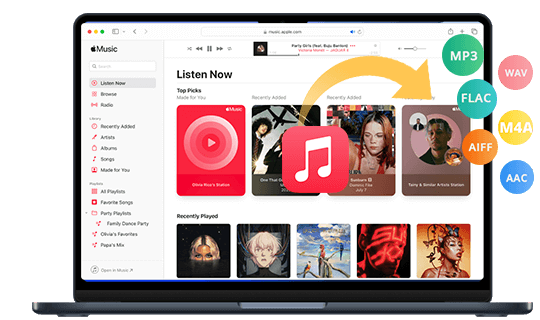
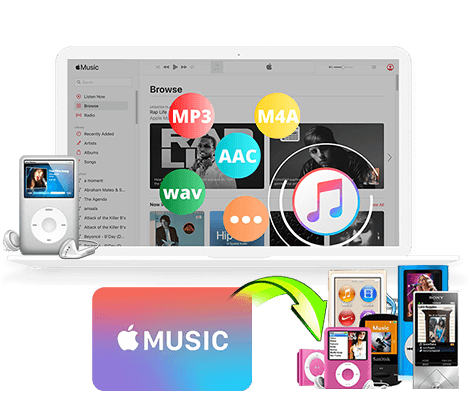
UkeySoft Apple Music Converter offers an intelligent and efficient solution to help you access the whole Apple Music library and download the tracks to local folder. It is able to download and convert Apple Music to MP3, M4A, FLAC, AAC, WAV, and AIFF audio formats with lossless audio quality kept. In addition, all Apple Music albums, playlists, or artists can be batch download at up to 15X speed, giving you the best music downloading experience without having the iTunes/Music app installed.
By converting Apple Music to MP3, you can easily transfer Apple Music to external hard drive, USB drive, SD card and more devices for backup, collection and playback. Even if you cancel your subscription, you can still keep those Apple Music playback on other devices through external hard drive!
UkeySoft Apple Music Converter
- Remove DRM from Apple Music for backup on external hard drive.
- Convert Apple Music to MP3, AAC, FLAC, M4A, WAV, AIFF
- Download multiple songs, albums, or playlists at once.
- Convert Apple Music tracks at up to 10X speed.
- Keep ID3 tags like Artist, title, album, genre, etc.
- Works independently and doesn't rely on the iTunes/Music app.
- Built-in a web player, music player and music manager.
Tip: System Requirements:
Windows 7 or later on 64bit required
Tutorial on How to Download Apple Music to MP3 for External Hard Drive
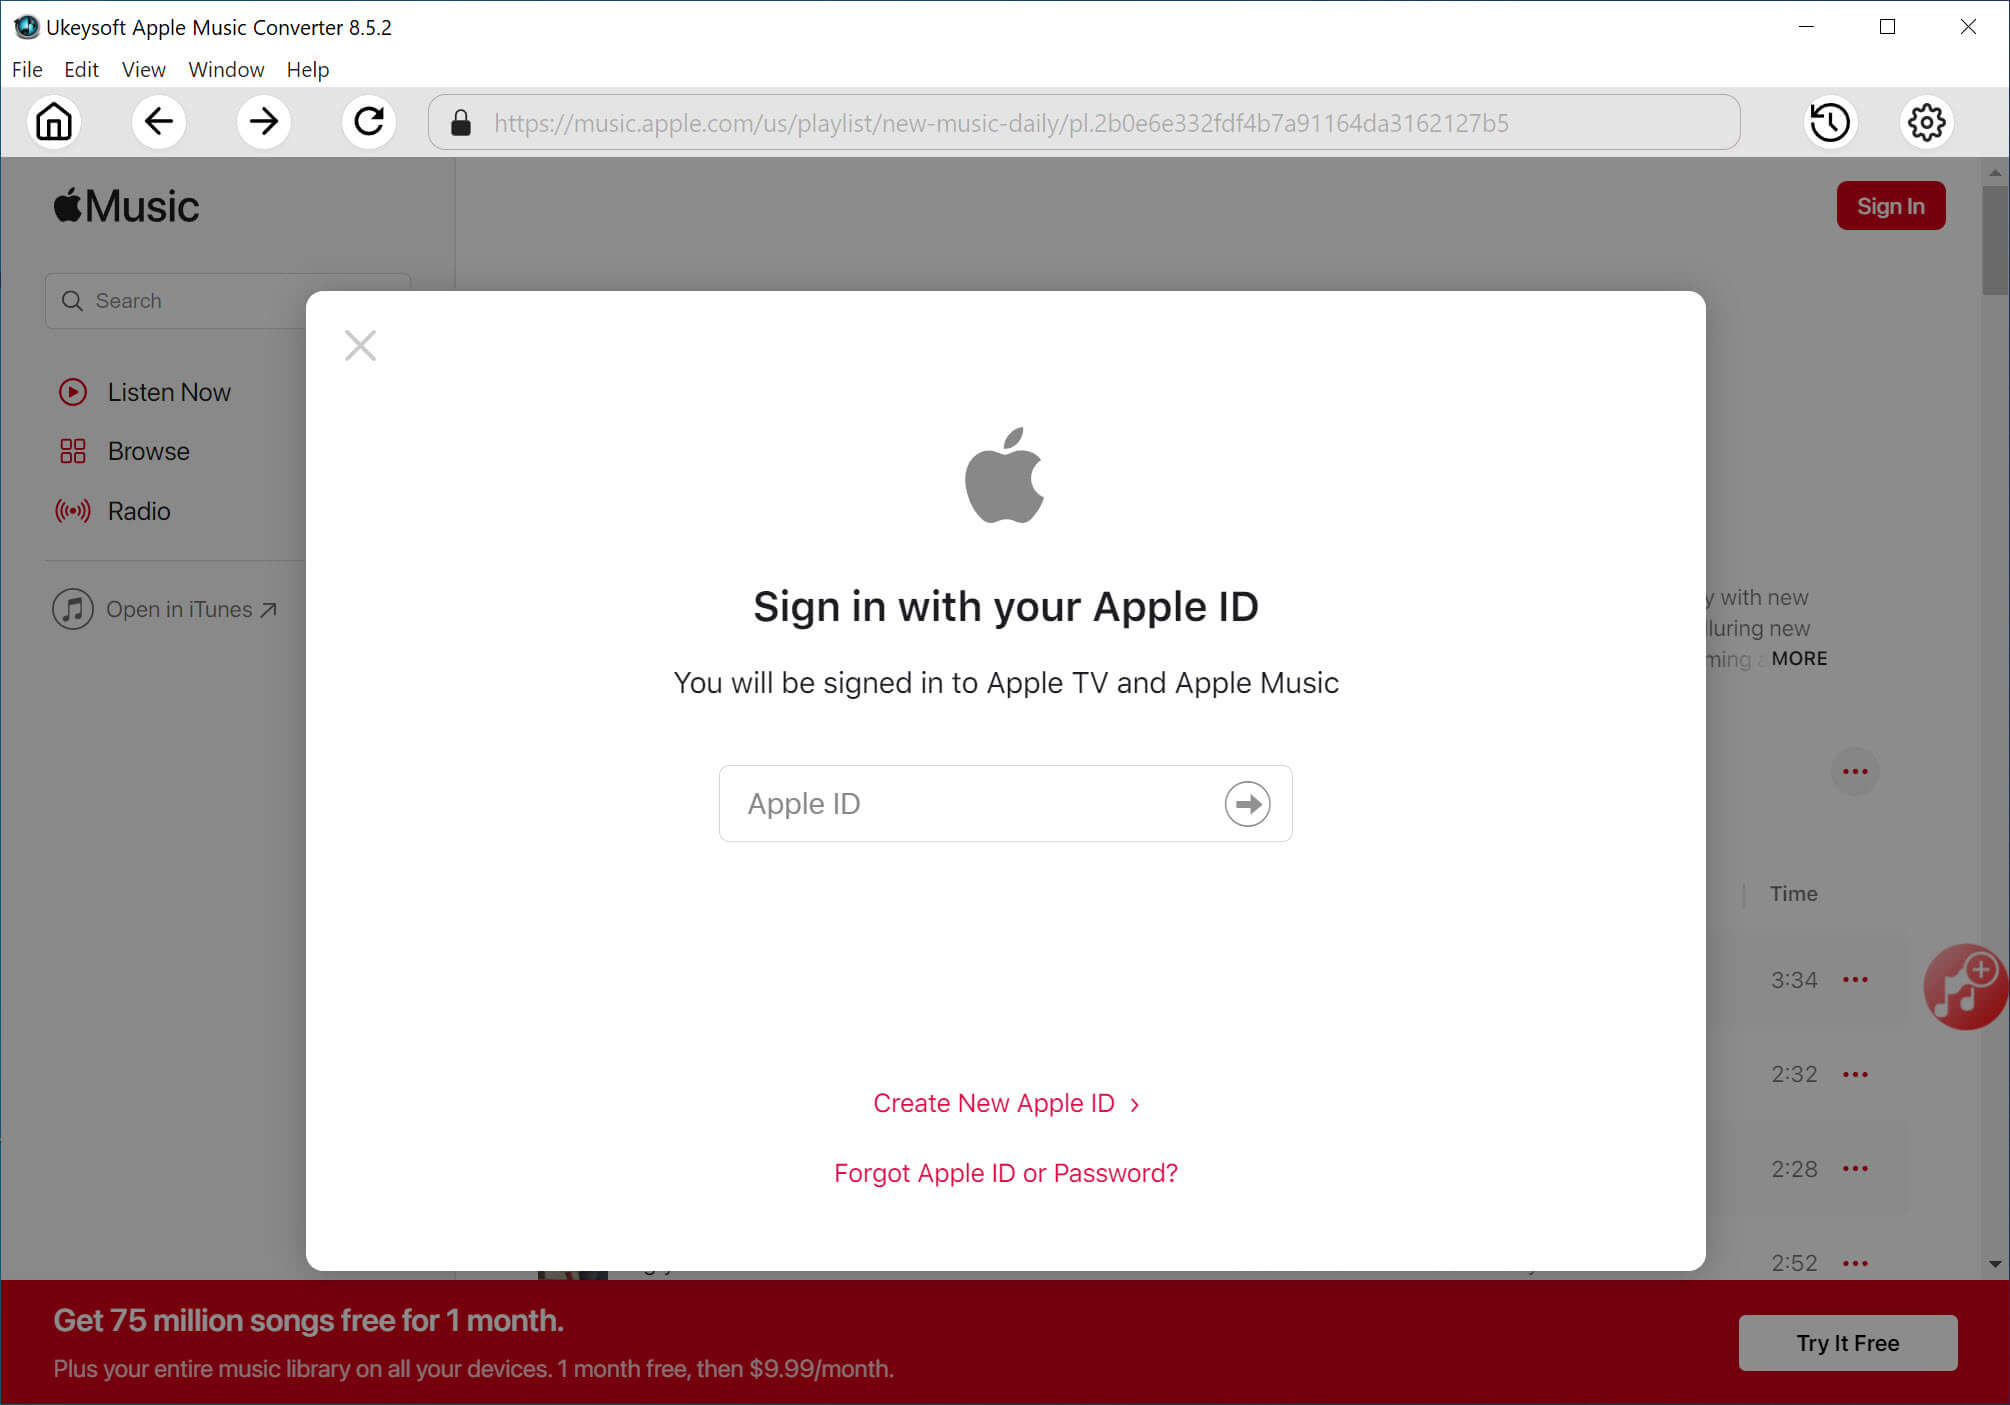
Step 1. Install UkeySoft Apple Music Converter
Download, install and run UkeySoft Apple Music Converter on your Mac or Windows. Start the program, you need to log in to your Apple ID to access your Apple Music library.
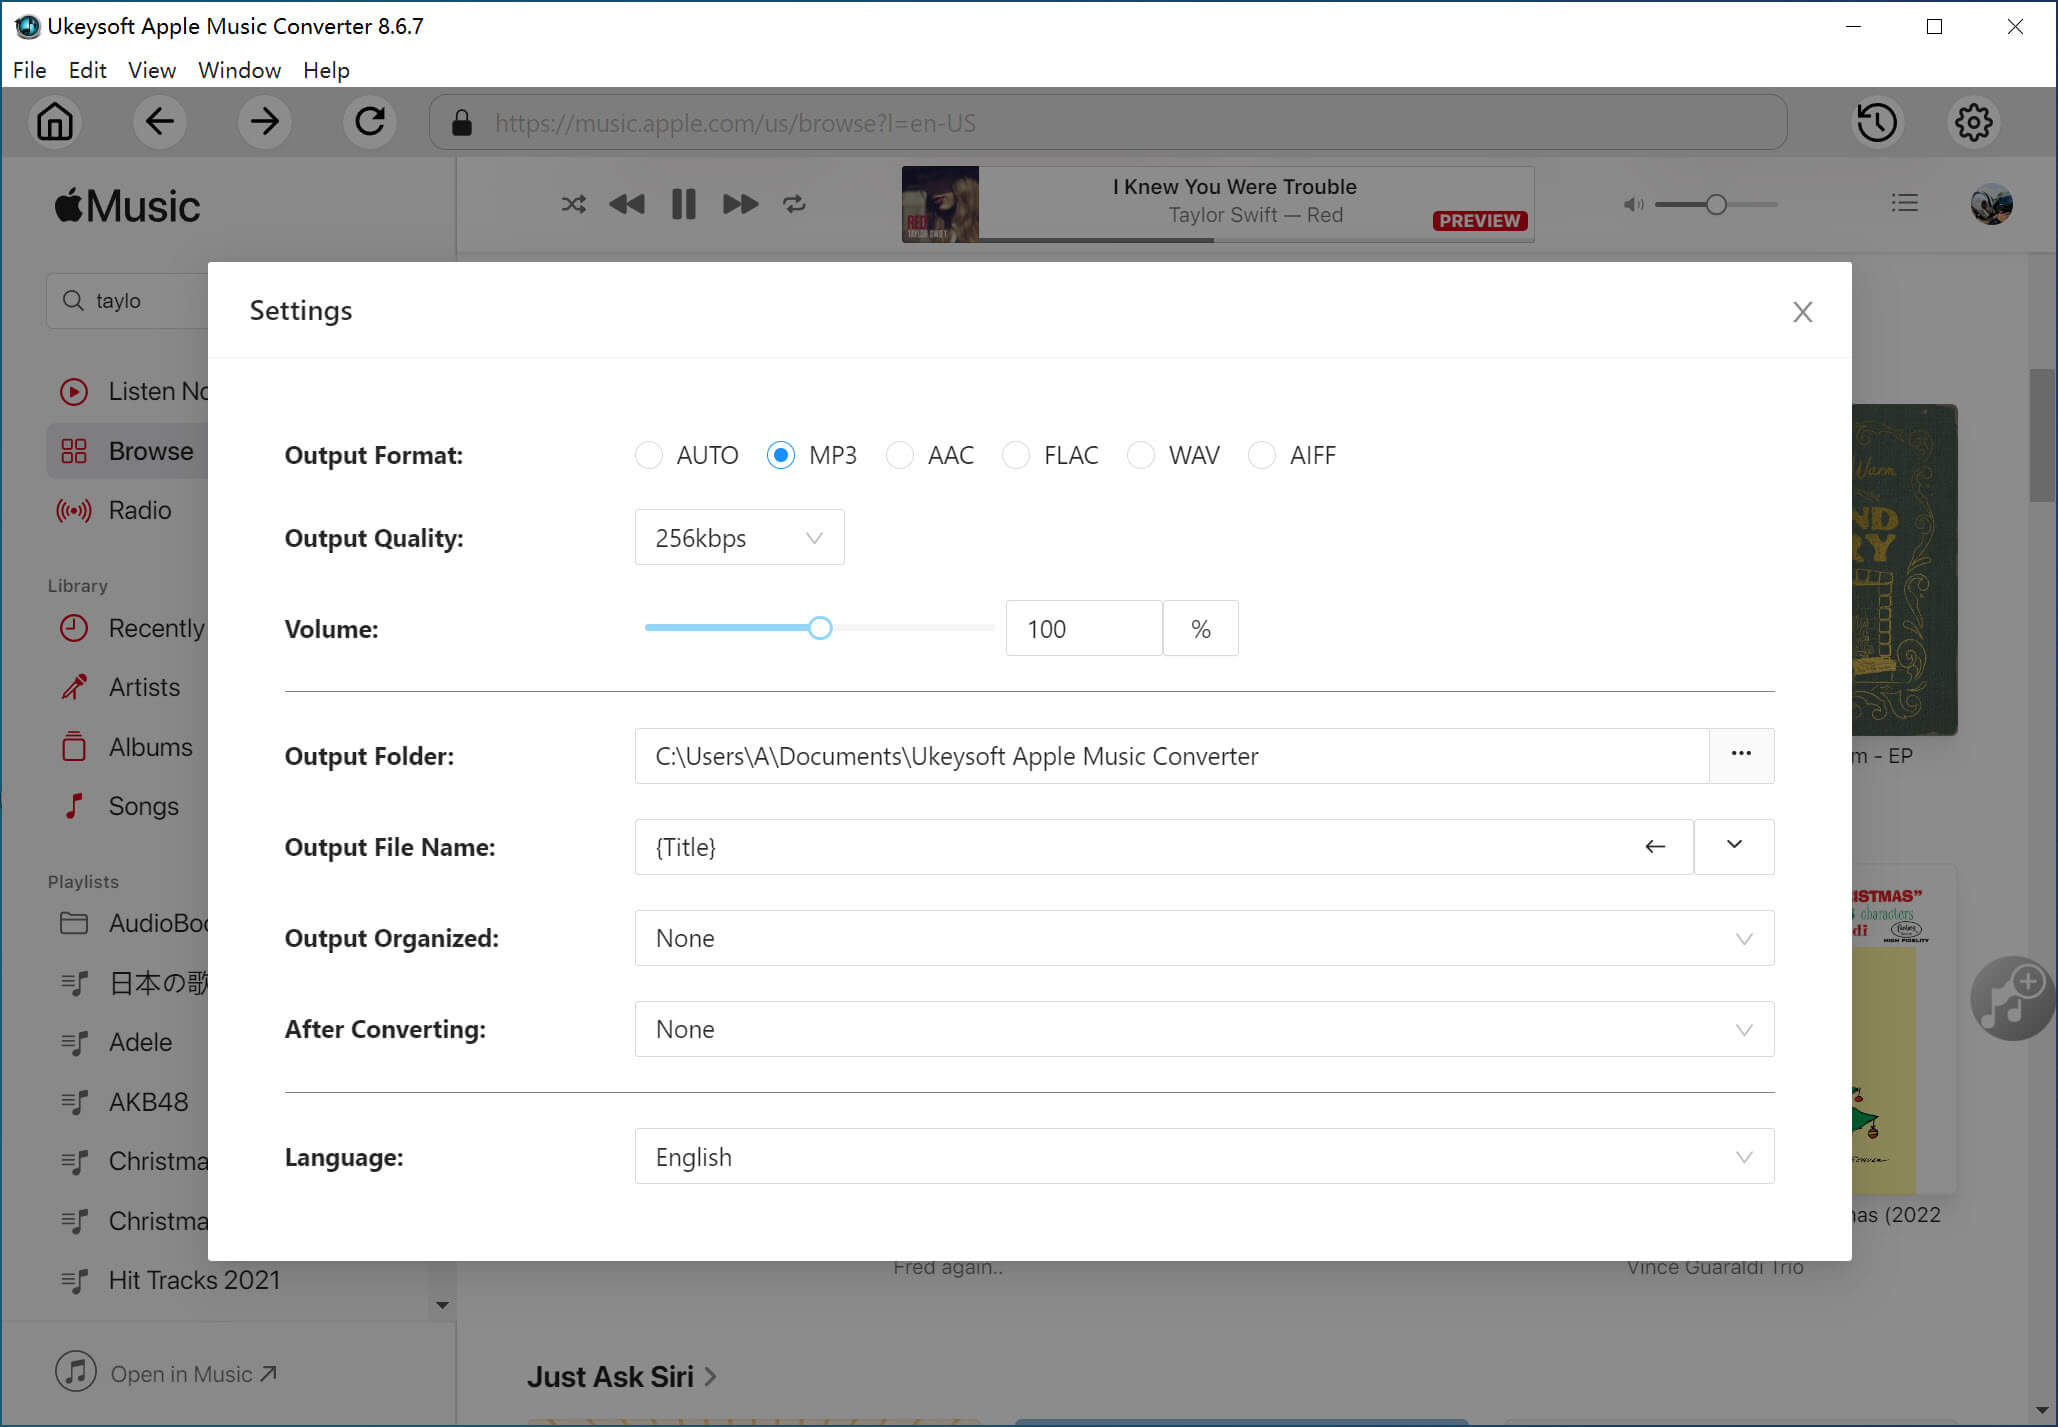
Step 2. Choose MP3 Format
Click the Settings (gear icon) in the upper-right corner. The default format is AUTO M4A. Here you need to set MP3 as the output format for Apple Music. In Output Quality: select 320kbps for best quality. Meanwhile, you may also define other output settings as you want.
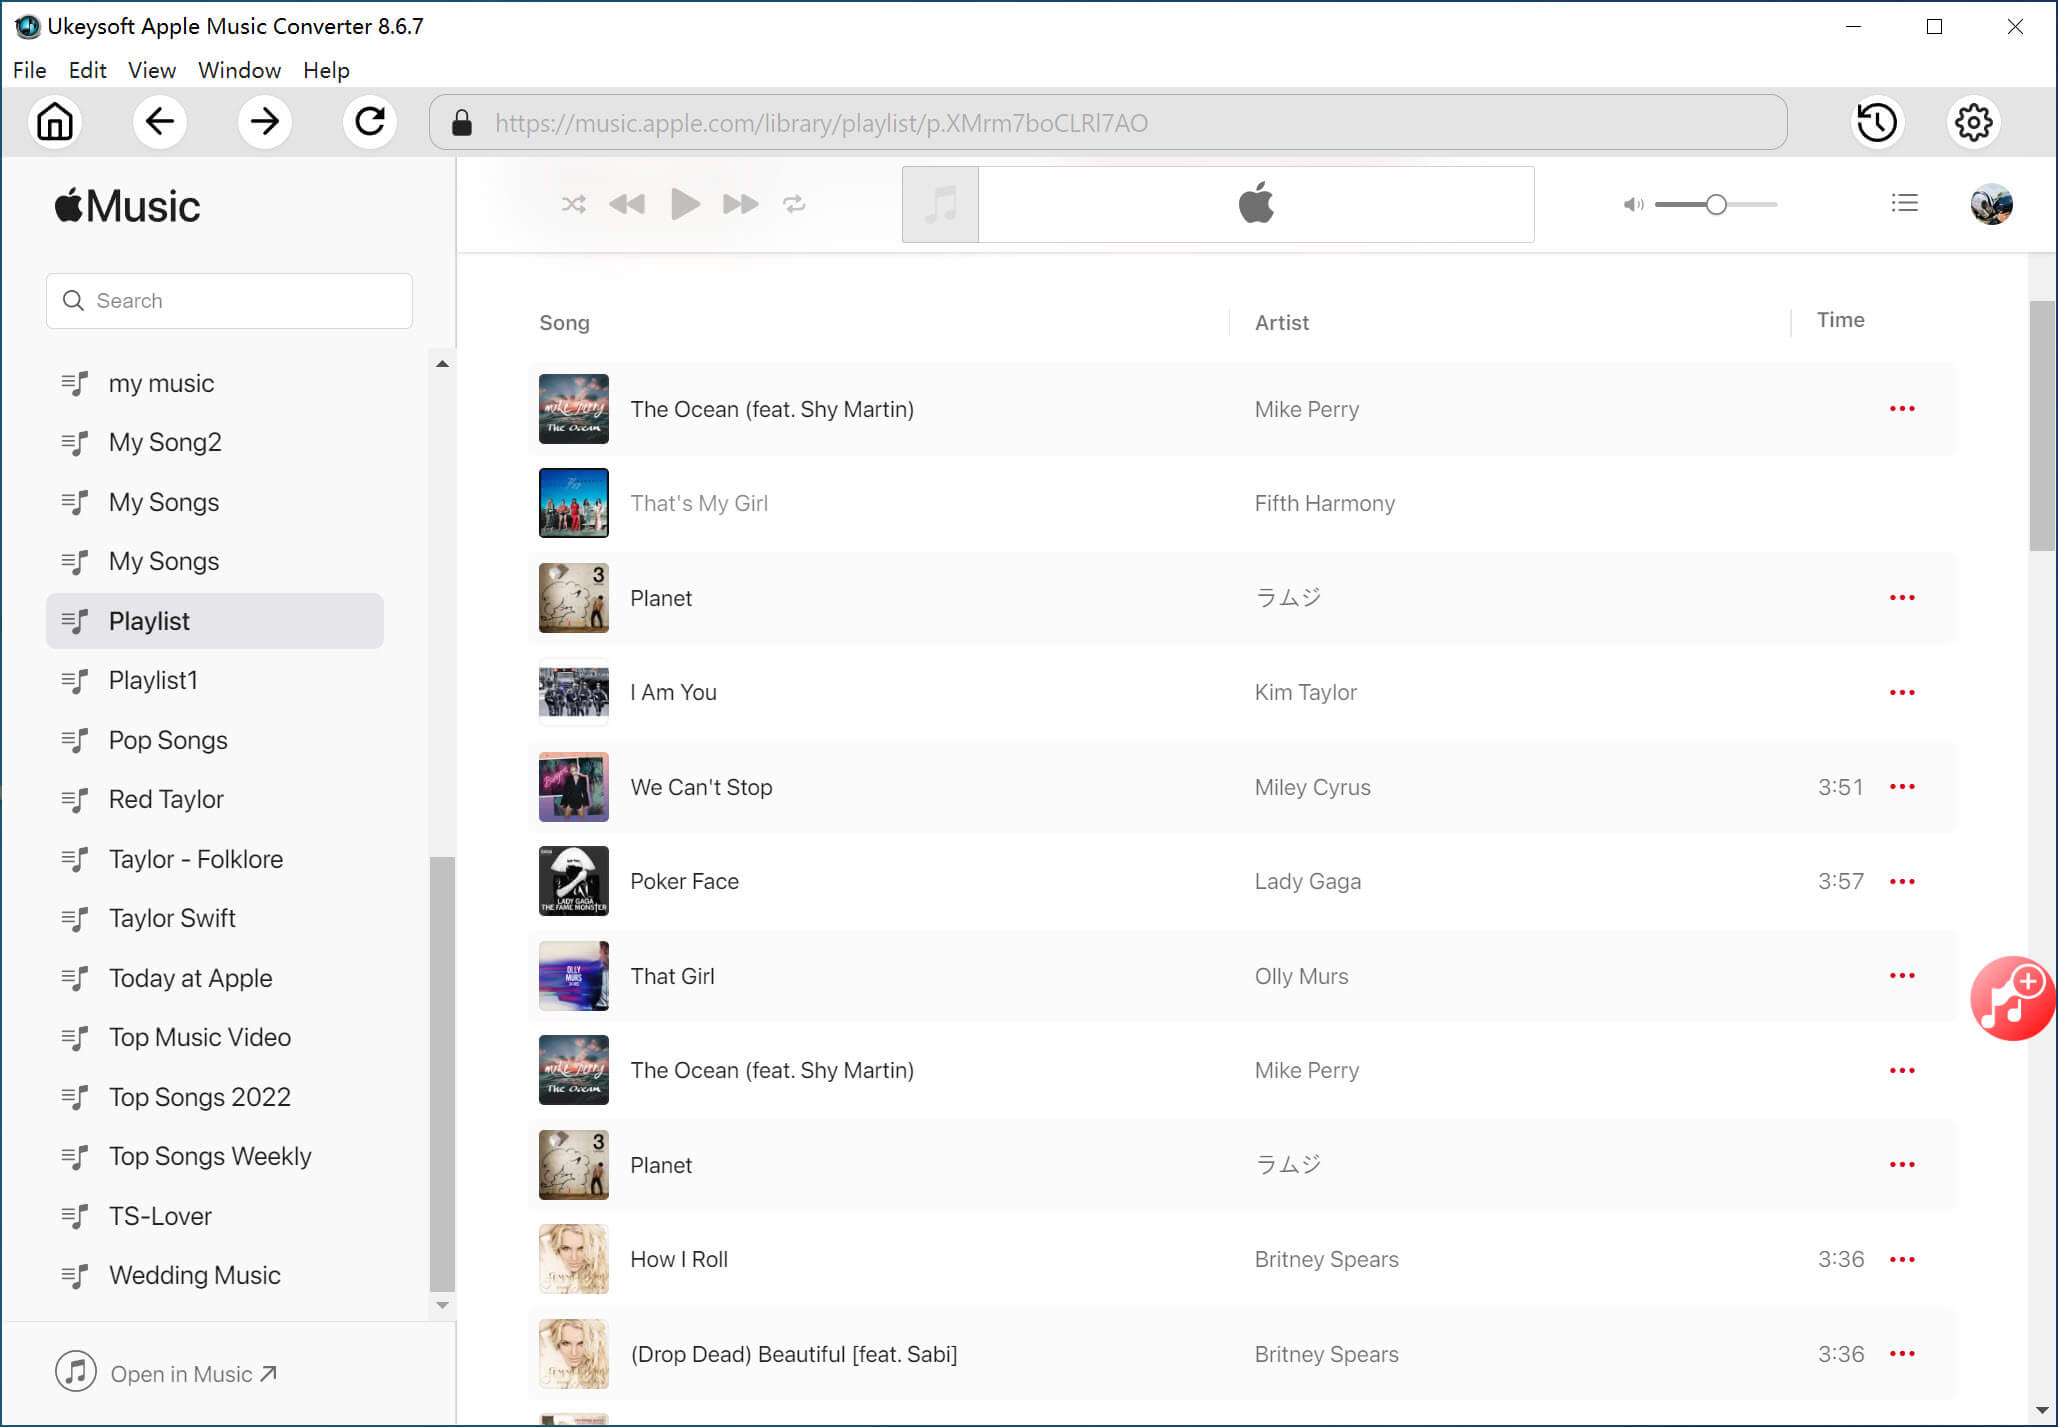
Step 3. Add Apple Music Songs
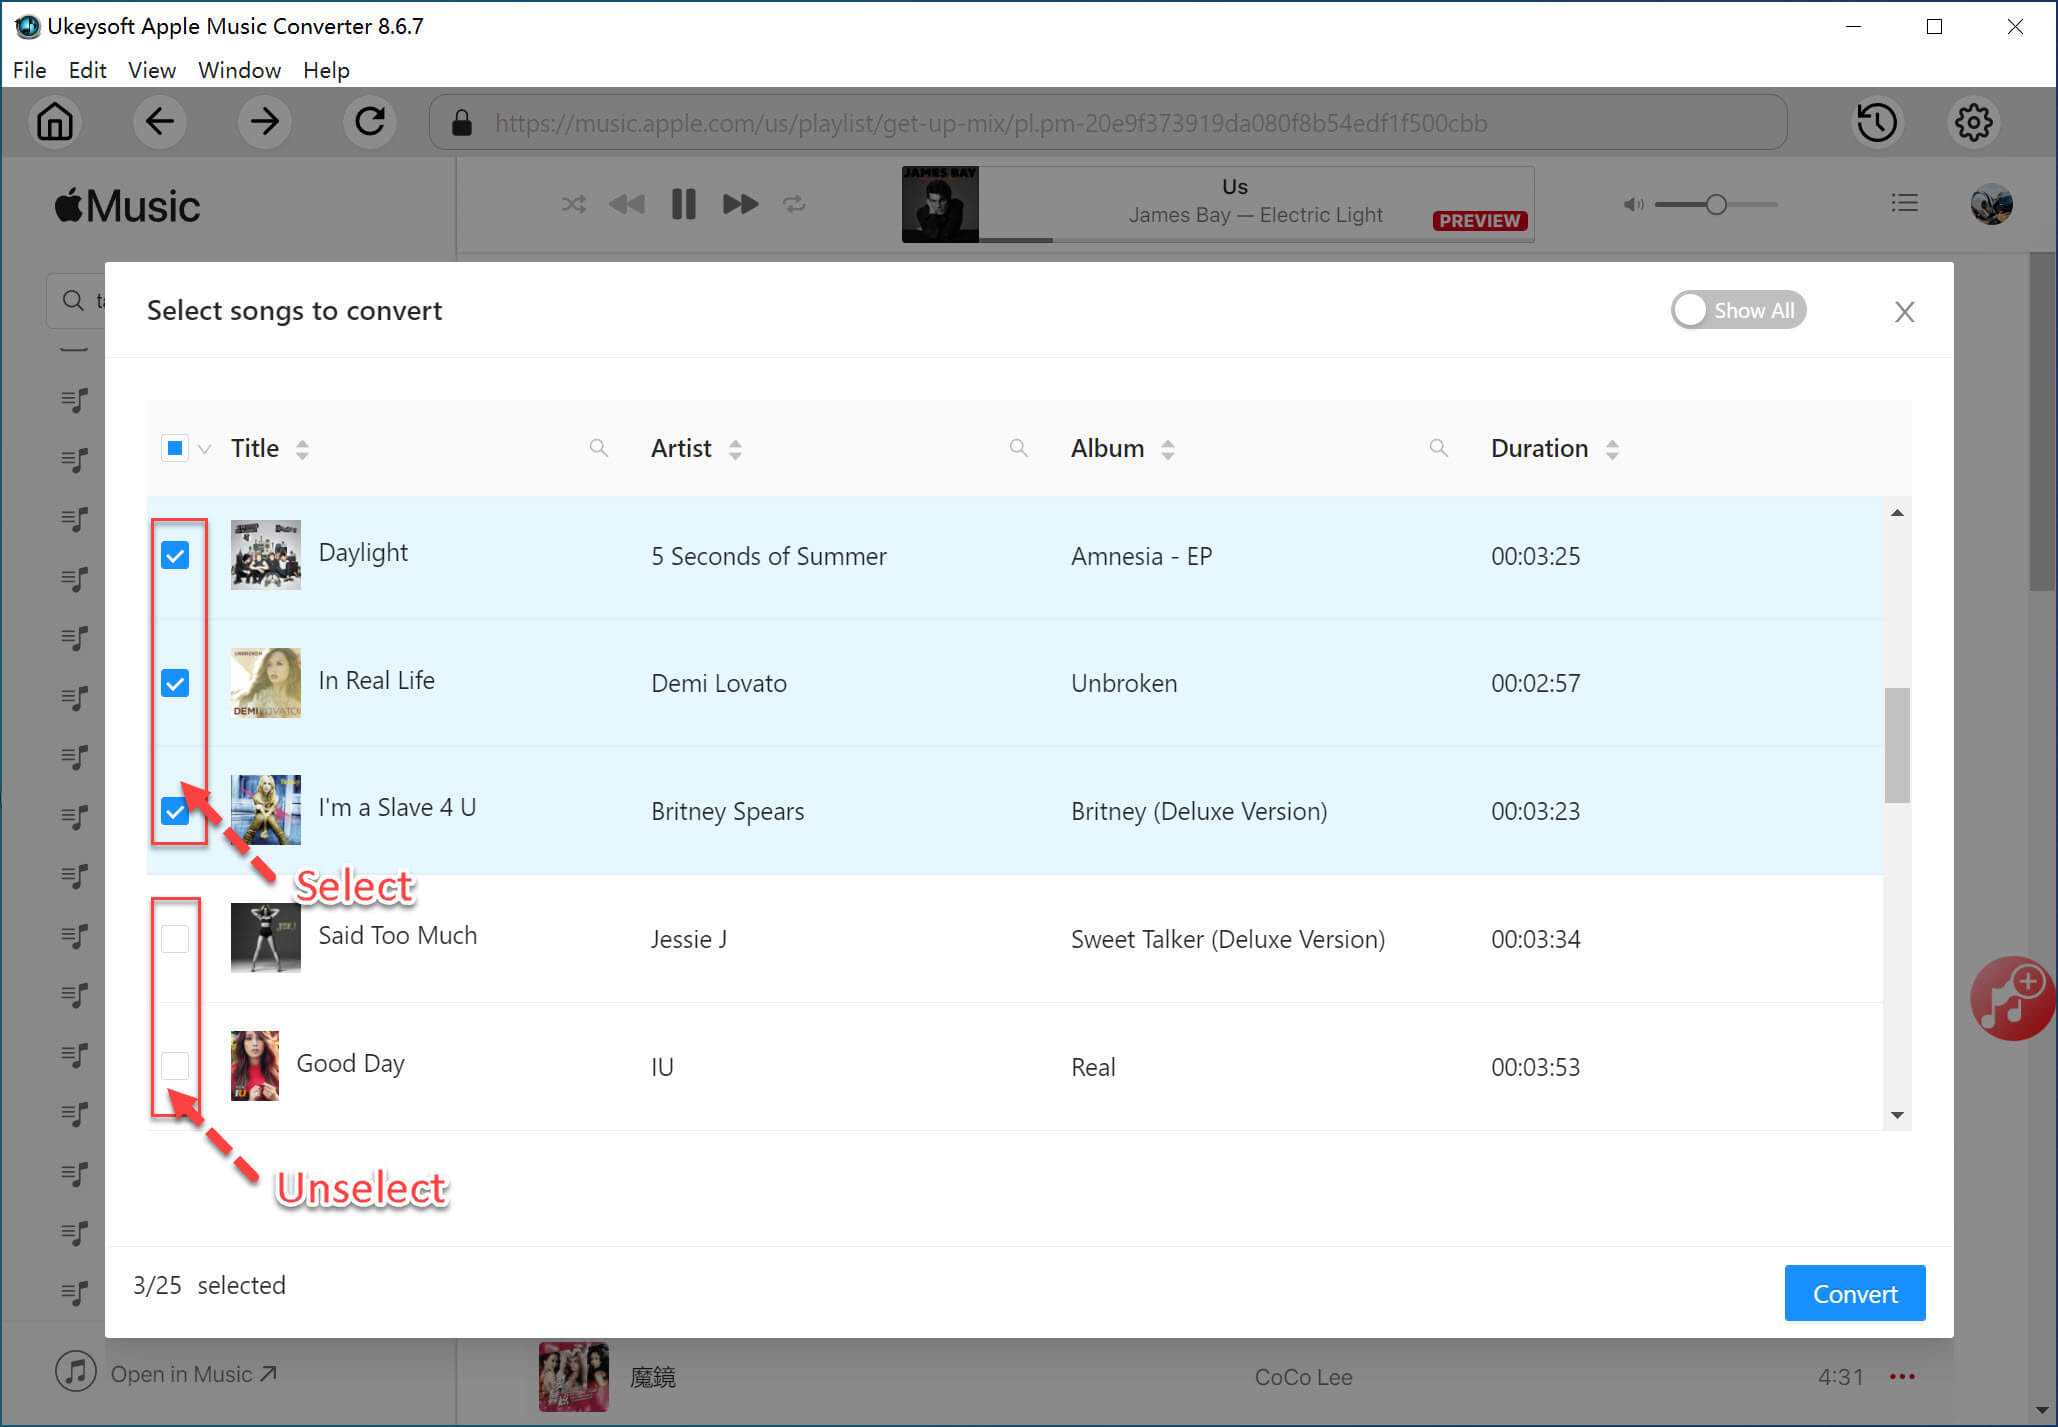
Browse your playlists or albums. You can also search for any song on the Search Box. Click the "+Add" button in the right side.
Once added the songs successfully, check and select the songs you wish to download and back up.
Step 4. Start to Download and Convert Apple Music
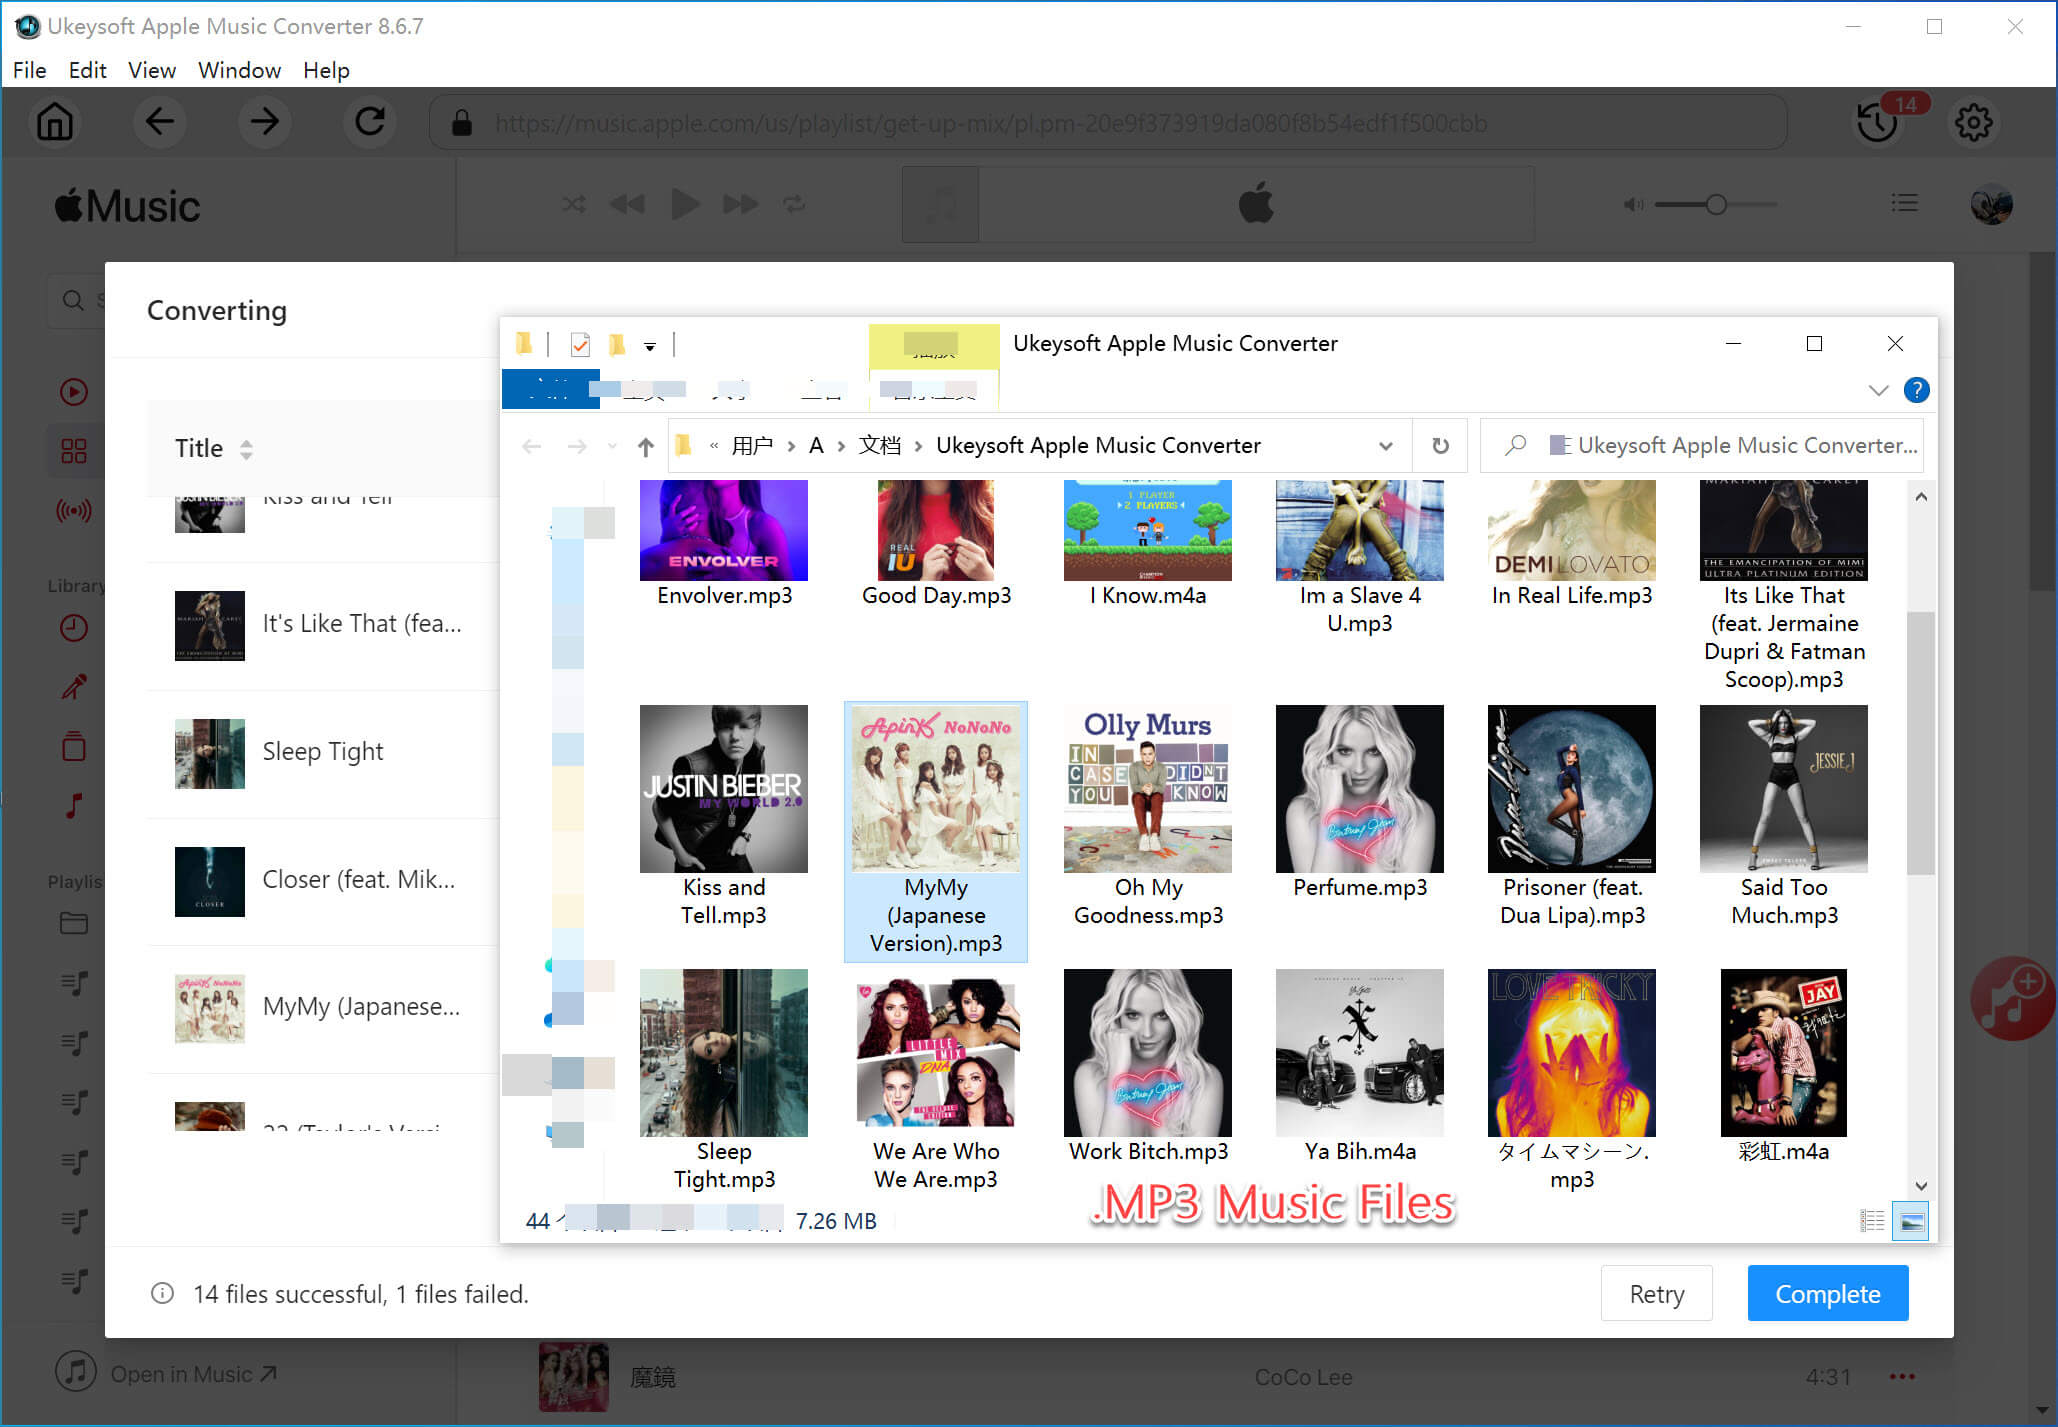
Click "Convert" button to start the process. UkeySoft Apple Music Converter will download and convert each selected Apple Music song to common MP3 for moving to external hard drive.
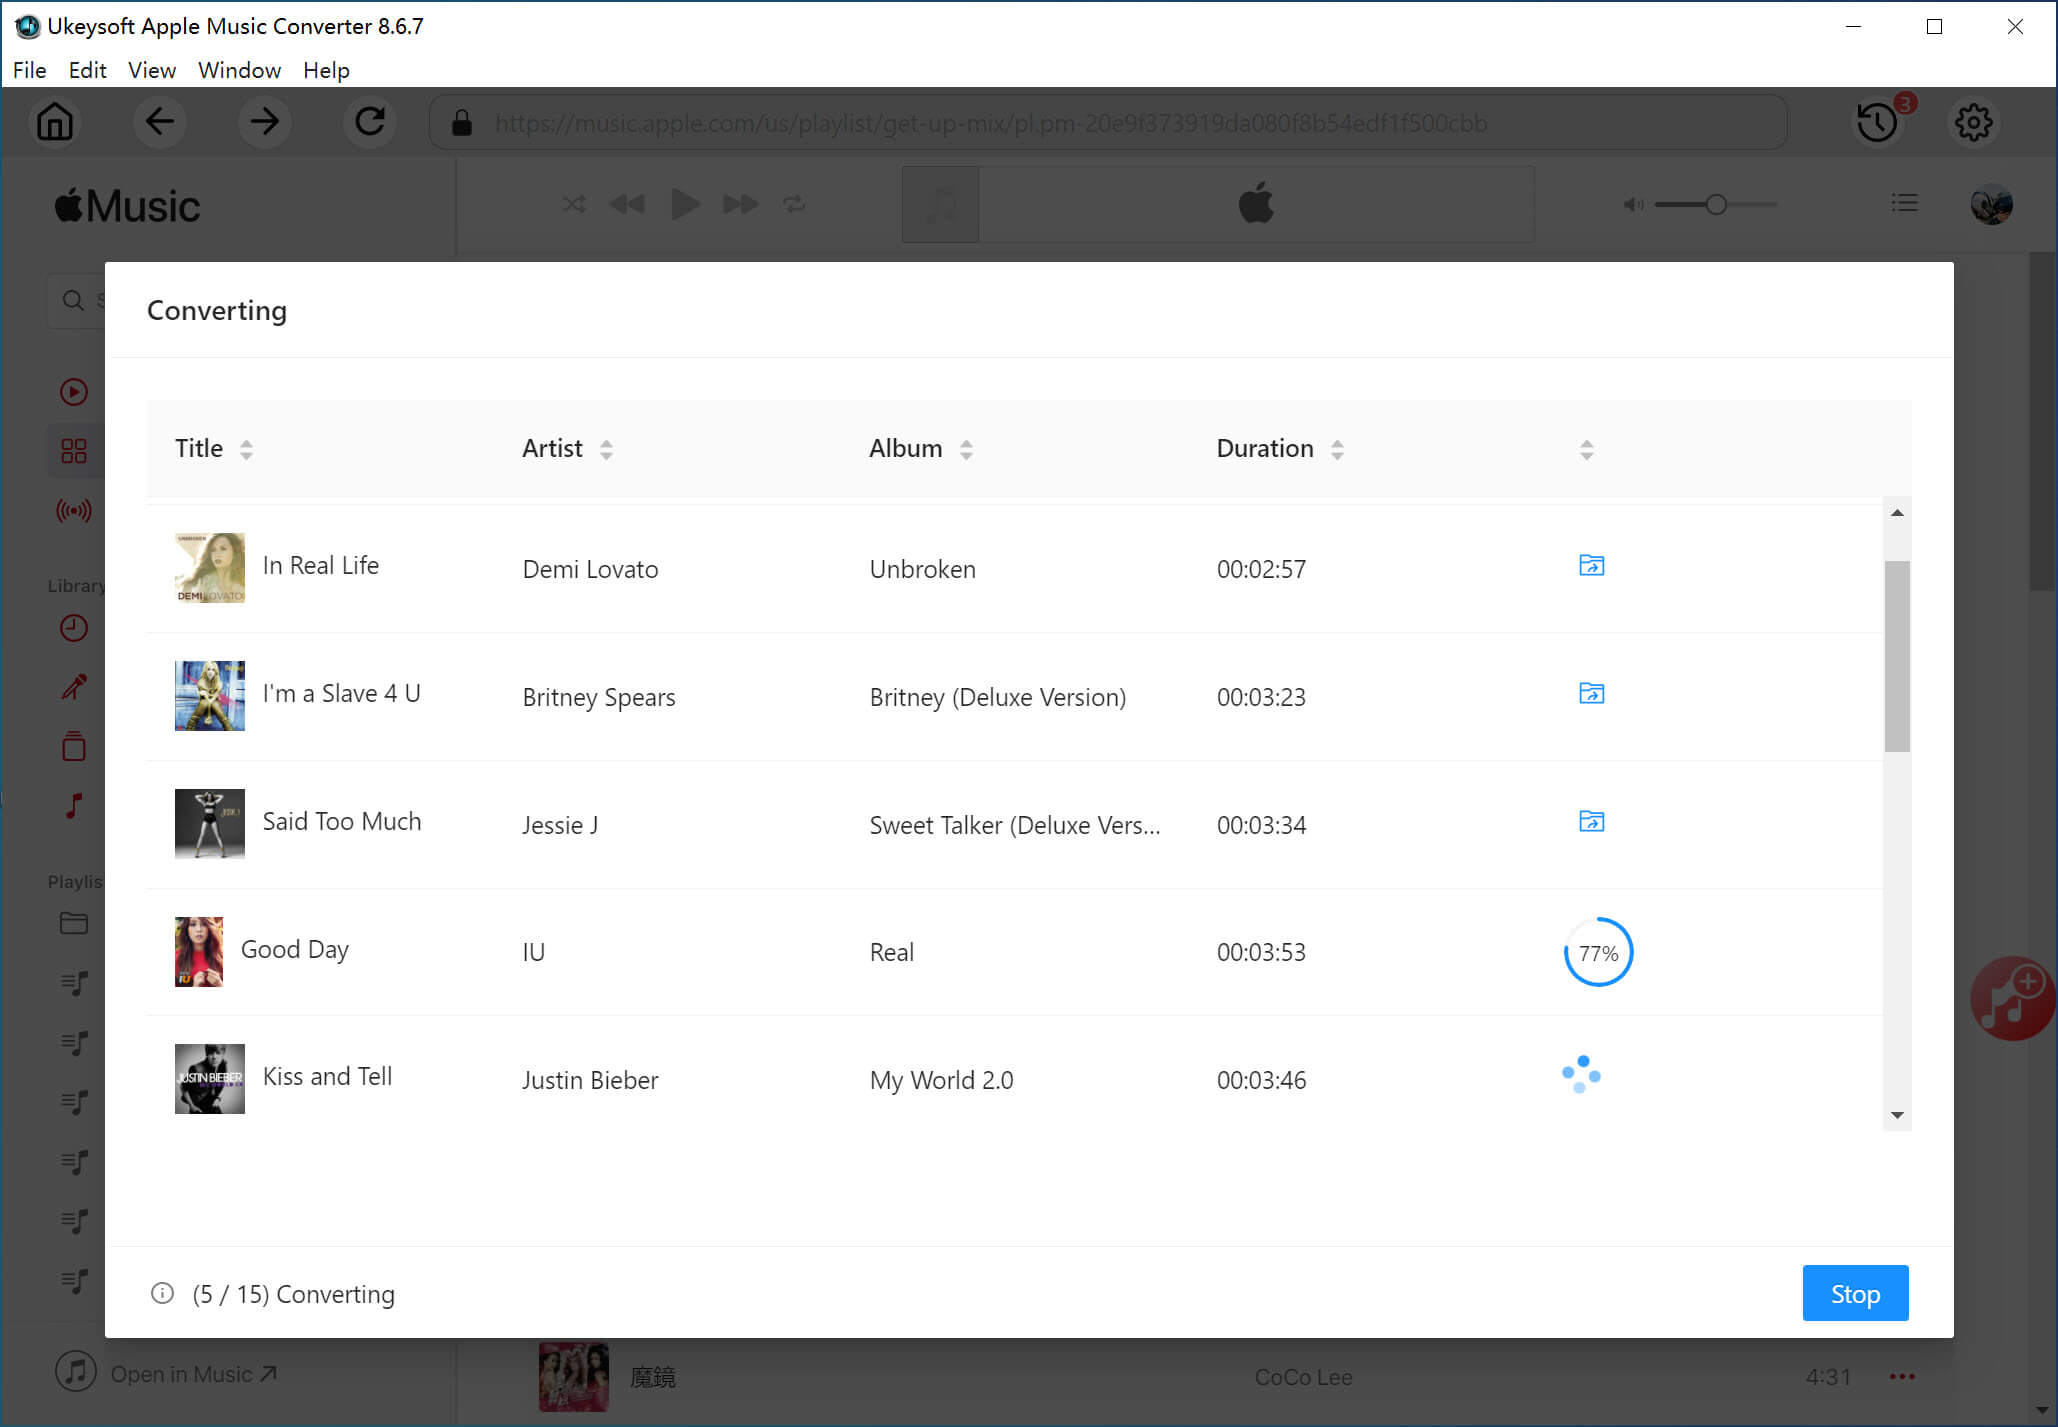
Step 5. Get Lossless Apple Music Songs in MP3 Format
Once conversion finished, you can click on the "History" (a clock icon) to view the converted Apple Music songs.

Part 3. How to Transfer Apple Music to External Hard Drive
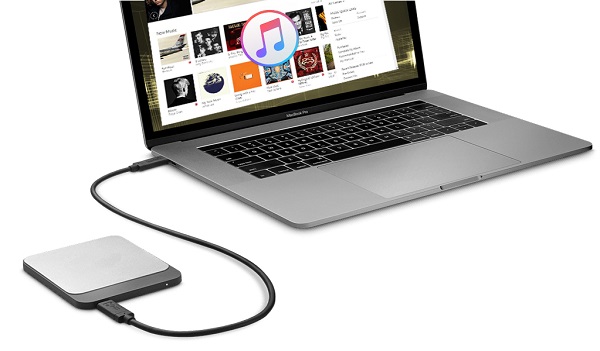
Now that your Apple Music files are saved as standard MP3s on your Mac/Windows computer, it's time to transfer Apple Music to external hard drive for backup.
Step 1. Connect Your External Hard Drive
Plug your external hard drive into your computer using a USB cable. Wait for the system to detect it.
Step 2. Copy Apple Music MP3 Files
Go to the folder where UkeySoft Apple Music Converter saved your Apple Music MP3s. Typically, click the blue folder icon next to the song to locate the output folder. Then select the Apple Music MP3 files or entire folder, copy it.
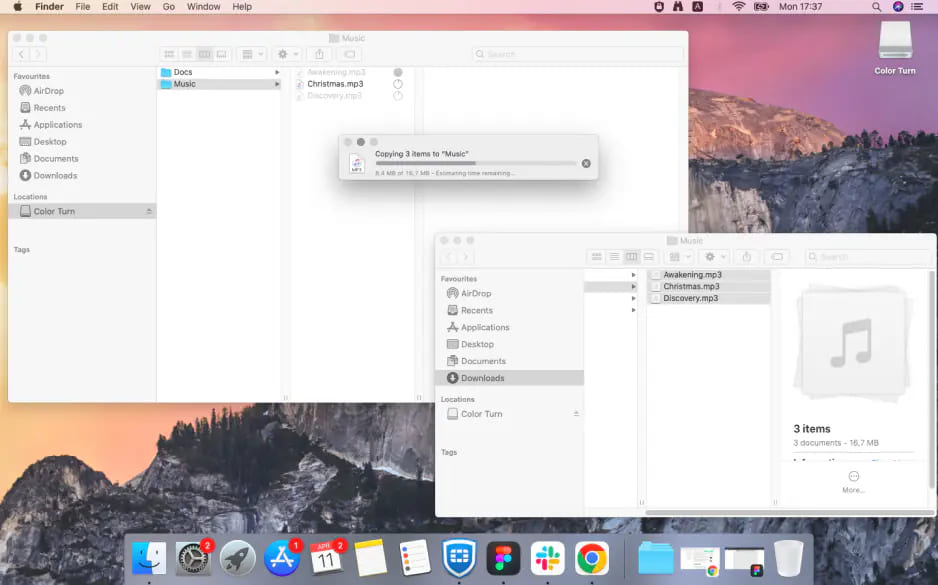
Step 3. Paste to External Hard Drive
Open your external hard drive from File Explorer. Create a new folder like Apple Music Backup. Right-click and choose Paste, or drag and drop the files directly into this new folder.

For Mac users, you need to copy and paste Apple Music to external hard drive using Finder.
Step 4. Eject the External Hard Drive Safely
Once done, safely eject your external hard drive from computer.
Great! You've successfully transferred music from Apple Music to external hard drive for backup.
Final Words
Apple Music offers a vast library of songs at your fingertips. Whether you want to free up space on device or enjoy flexible playback, saving Apple Music to external hard drive is a smart move. With the powerful tool - UkeySoft Apple Music Converter, you can quickly download and convert Apple Music tracks to MP3 at 320kbps. It makes it easy to transfer music from Apple Music to external hard drive in just a few steps. To get the best experience of Apple Music, click the Download button to have a try!
Transfer Apple Music to External Hard Drive

Apple Music Converter

Justin Sabrina has always had great enthusiasm for writing, programming and web development. He likes writing about software and technology, his works are featured on some tech blogs or forums like Tom's Hardware, CNET, etc.


No comment yet. Say something...