By
Justin SabrinaUpdated on December 18, 2025
Summary
Wonder discover how to transfer Apple Music to USB flash drive? Follow our step-by-step instructions to transfer your favorite Apple Music songs and playlists to a USB for easy access and portability, so that you can play Apple Music offline anywhere via USB drive connection, such as car media players, mobile speakers, smart TVs, and gaming consoles.
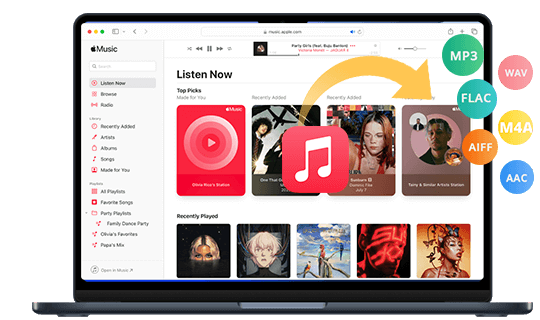
Although we can stream Apple Music on iPhone, iPad, Android phone, computer and other Apple authorized devices, and even allows us to download tracks to play offline, but there are still many restrictions on using Apple Music service. For instance, even you have download Apple Music songs on your device, you can't transfer Apple Music downloads to USB drive, other external hard drive, MP3 player and other mobile phone directly. Even when you get Apple Music downloads, you can only stream them within Apple Music app or iTunes. If you want to play Apple Music on other Apple Music unsupported devices, such as car stereo systems, Bluetooth speakers, we suggest you transfer Apple Music to USB flash drive.
![copy apple music to usb drive]()
Therefore, many users want to transfer Apple Music to USB sticks/USB flash drive for backup or flexible playback on various devices via USB flash drive. However, how to transfer Apple Music to USB drive? To download Apple Music to USB drive, you'll need to download Apple Music songs to MP3 and put them onto USB drive. In this article, we will teach you 2 easy ways to download Apple Music to a USB drive, so that you can access and take along your favorite songs and playlists easily.
Part 1. Can I Find Apple Music Downloads and Transfer to USB Flash Drive
If you have downloaded Apple Music tracks for offline listening on Windows or Mac computer, you may want to find Apple Music downloads and transfer them to USB flash drive. In this part, we will tell you where are Apple Music downloads stored and explain why we can’t transfer Apple Music downloads to USB drive and other devices directly.
On Mac:
If you have downloaded Apple Music songs via Music app on Macbook/iMac, Apple Music downloads are stored within the Apple Music app itself, its is a cached file, those downloaded Apple Music files are not stored on your Mac system. You can access them by navigating to the "Library" section within the app and then selecting "Downloaded". Downloaded tracks are encrypted, you need a valid Apple Music subscription to access them. To access Apple Music downloads on Mac, you can navigate to the below location to find them:
macOS: /Users/[Your username]/Music/Music/Media/Music/
On Windows:
We can stream Apple Music with iTunes on PC, but Apple Music AAC files comes with DRM protection, even though you have download them for offline playback with iTunes, you will find that all downloaded files are M4P format, which is a protected AAC audio files, too. You can view those downloaded Apple Music M4P files through the below location:
Windows: C:\Users\Yourusername\Music\iTunes\iTunes Media
Verdict
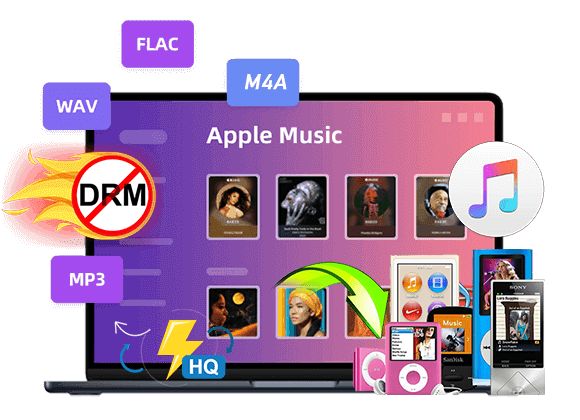
Apple Music downloads are protected by Digital Rights Management (DRM), even through you can find those downloaded Apple Music files, it require your Apple Music subscription to be active for access on limited authorized devices, you can’t put Apple Music to USB or other devices directly. If you want to transfer Apple Music to a USB drive, you'll need to first download and convert Apple Music to MP3 on your computer. Then, you can copy the music files to the USB drive. Let’s teach you 2 effective ways to download and transfer Apple Music to any USB devices.
Part 2. Download and Transfer Apple Music to USB Drive
Tools you will need to download and transfer Apple Music to a USB drive:
- A Computer running Mac OS or Windows OS - Windows 7/8/10/11 and Mac OS X 10.6 above.
- Subscribed to Apple Music - Get all songs and playlist from Apple Music store.
- USB flash drive - Store the downloaded MP3 Apple Music song for playing in car, smart TV, speaker, etc.
- Tuxera NTFS for Mac - Tools for Mac users easily to transfer the downloaded Apple Music songs to USB devices.
- UkeySoft Apple Music Converter (Method 1) - A professional Apple Music downloader to download Apple Music songs/playlist/albums to MP3, M4A, WAV and AAC at batch.
- Apple Music Downloader Online (Method 2) - A online Apple Music downloader website that can download Apple Music songs to MP3 for free.
Method 1. Download and Transfer Apple Music to USB Drive via Desktop Tool
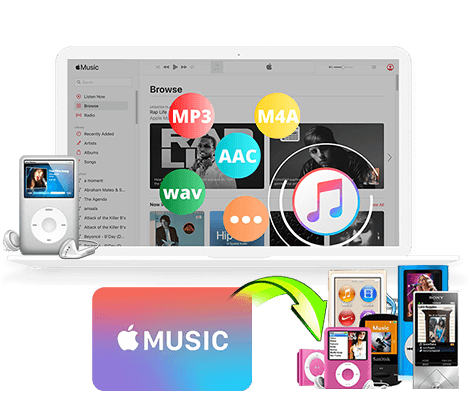
UkeySoft Apple Music Converter is a professional Apple Music to MP3 downloader for you. With this Apple Music downloader, you can download Apple Music to MP3, M4A, AAC, AIFF, WAV, FLAC on computer. After downloading Apple Music to MP3 files, you can transfer the MP3 Apple Music tracks to USB flash device.
UkeySoft Apple Music Converter Key Features:
- Download Apple Music songs, playlist and albums directly.
- Convert Apple Music songs to MP3, M4A, AAC, FLAC, WAV, or AIFF.
- Keep song’s original metadata after conversion.
- Batch download songs and playlist from Apple Music.
- Up to 16X fast conversion speed, batch downloading supported.
- Built-in Apple Music web player, no need to install the Apple Music app.
- Fully compatible with Windows and Mac computer.
Do you want to transfer Spotify music to USB flash drive for playing in the car? Spotify Music Converter is able to helps you, which is a free Spotify music downloader tool. You can download Spotify music to MP3 for free, so that you can transfer Spotify music to USB flash drive.
Trustpilot rating: 4.3 out of 5 stars, 266 reviews
Guide: Download Apple Music to USB Drive
The following guide teaches you how to download Apple Music songs to MP3 on PC/Mac. Then, you can copy the music files to USB drive, memory card, SD car, MP3 player, mobile phones and more devices.
Step 1. Launch UkeySoft Apple Music Converter and Login Apple ID
Download, install and launch UkeySoft Apple Music Converter on your PC or Mac. Then click "Sign In" with your Apple ID.
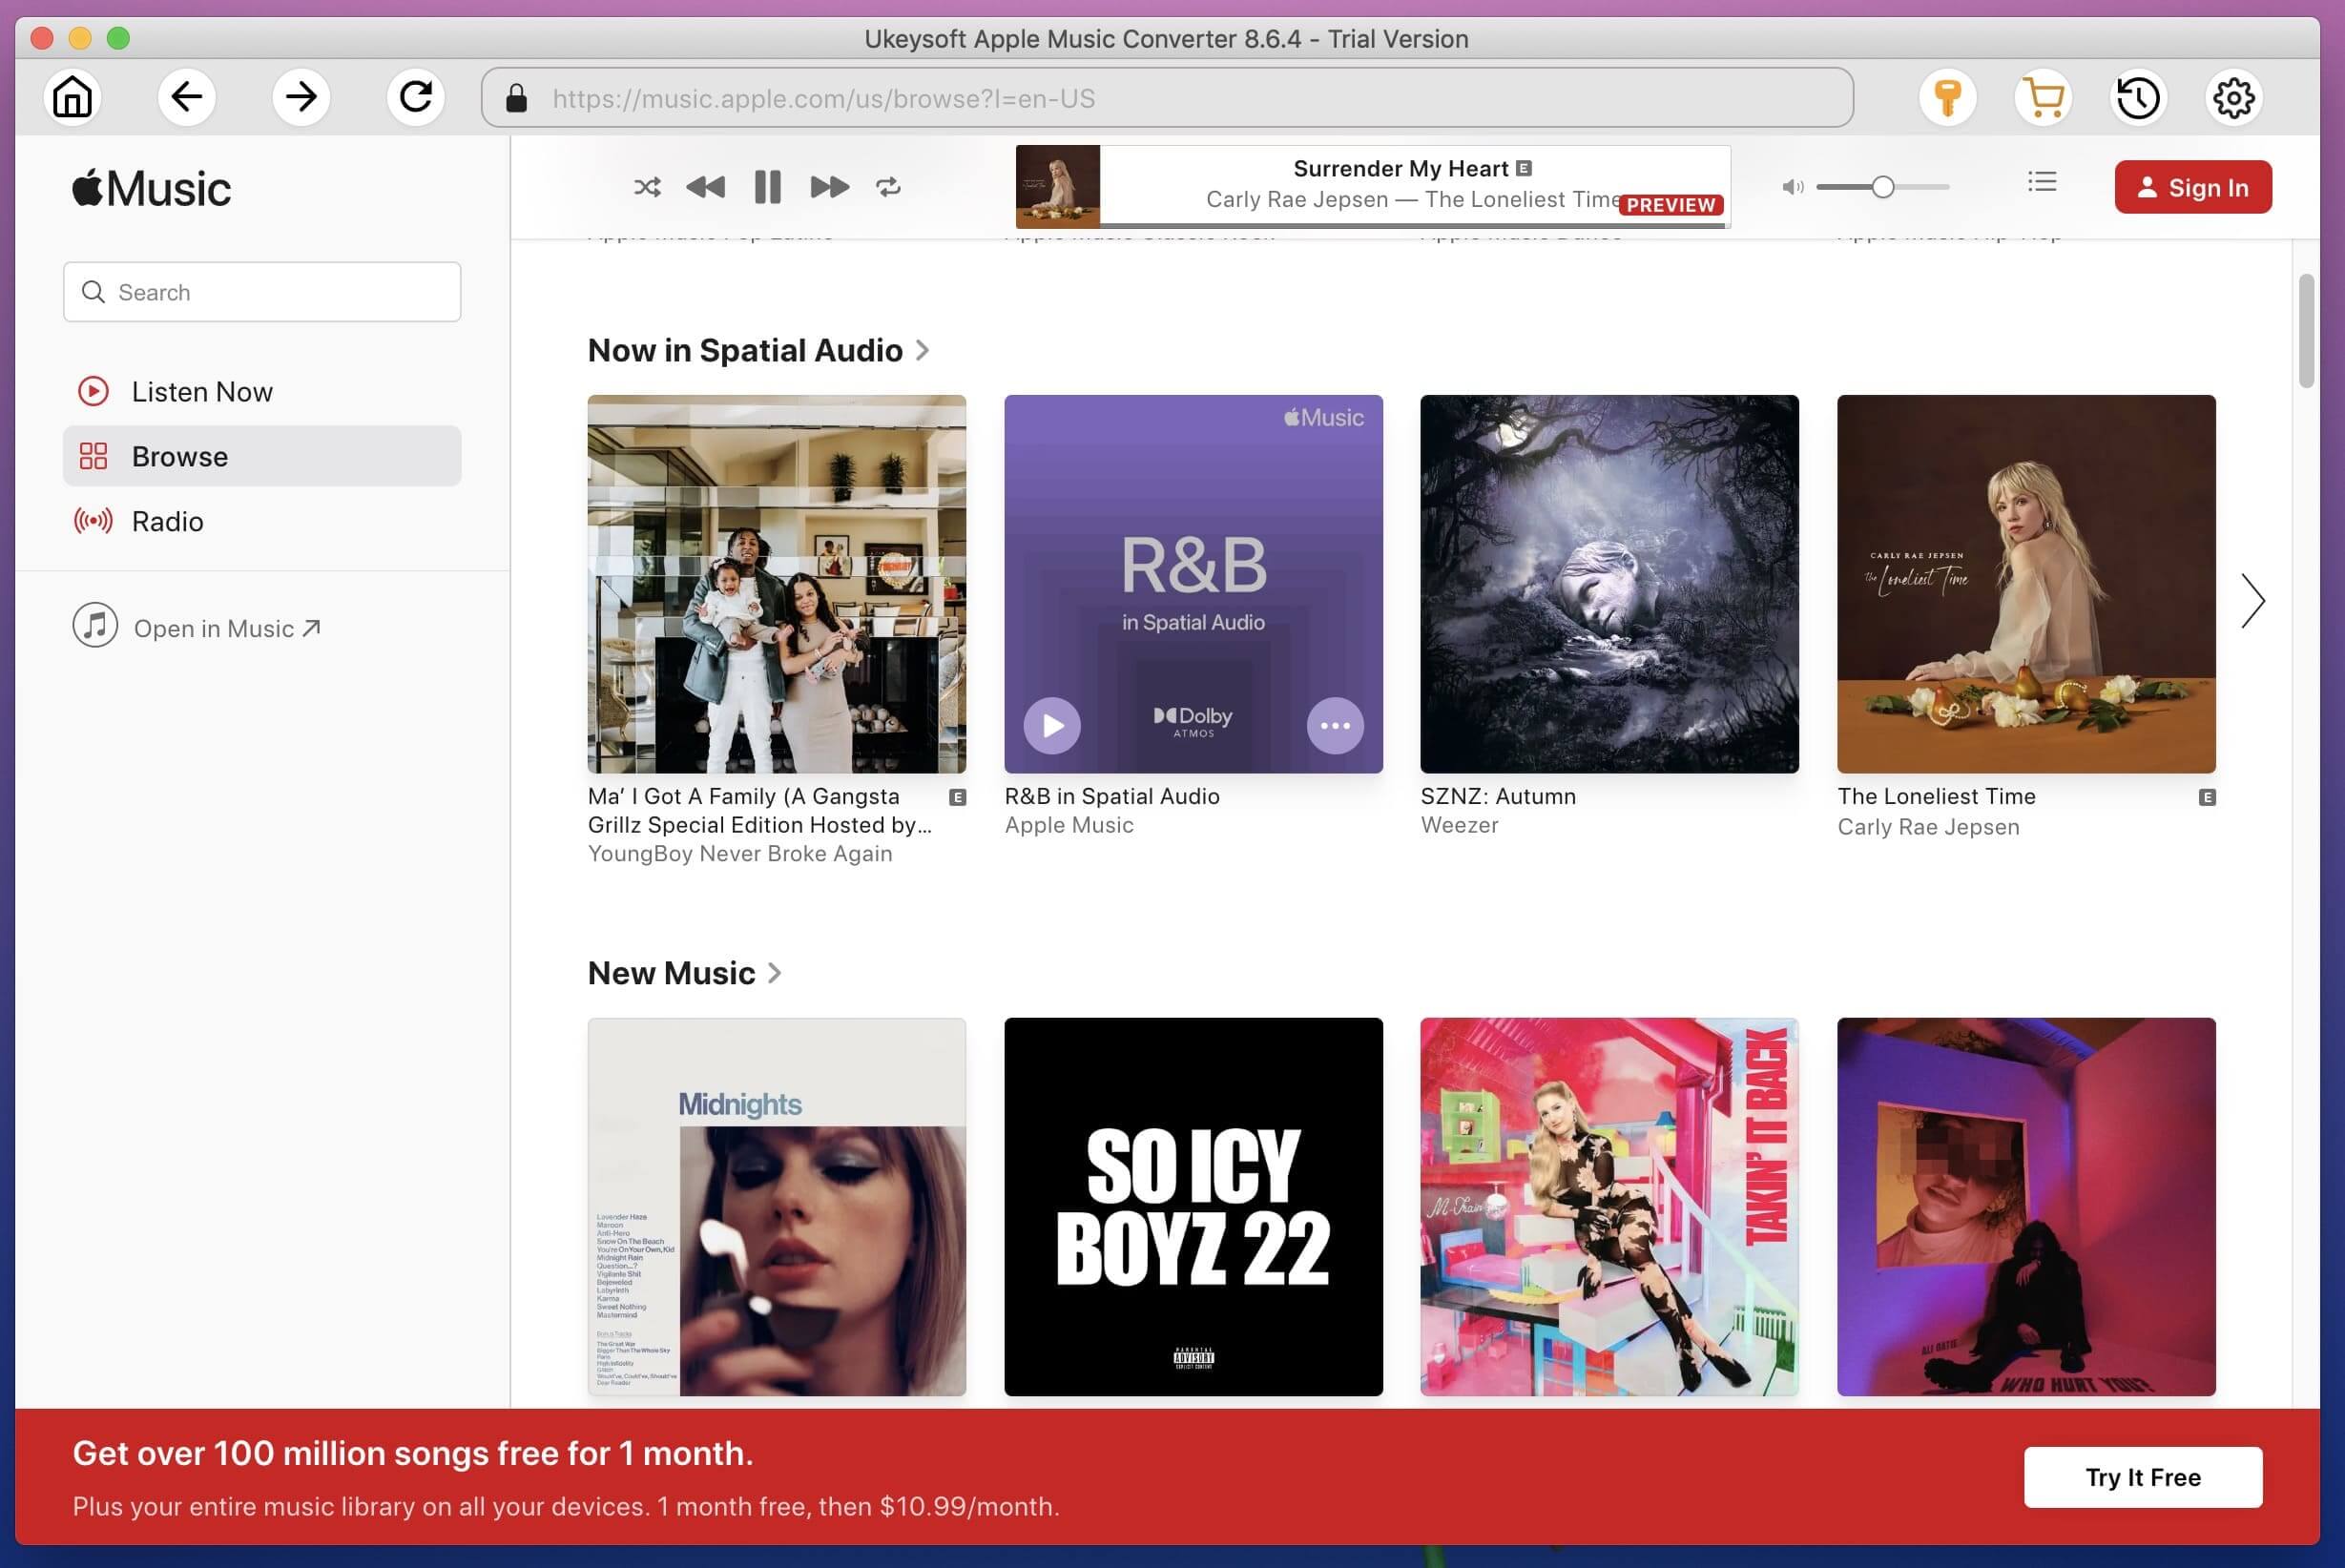
You will enter the Apple Music web browser and see your Apple Music library.
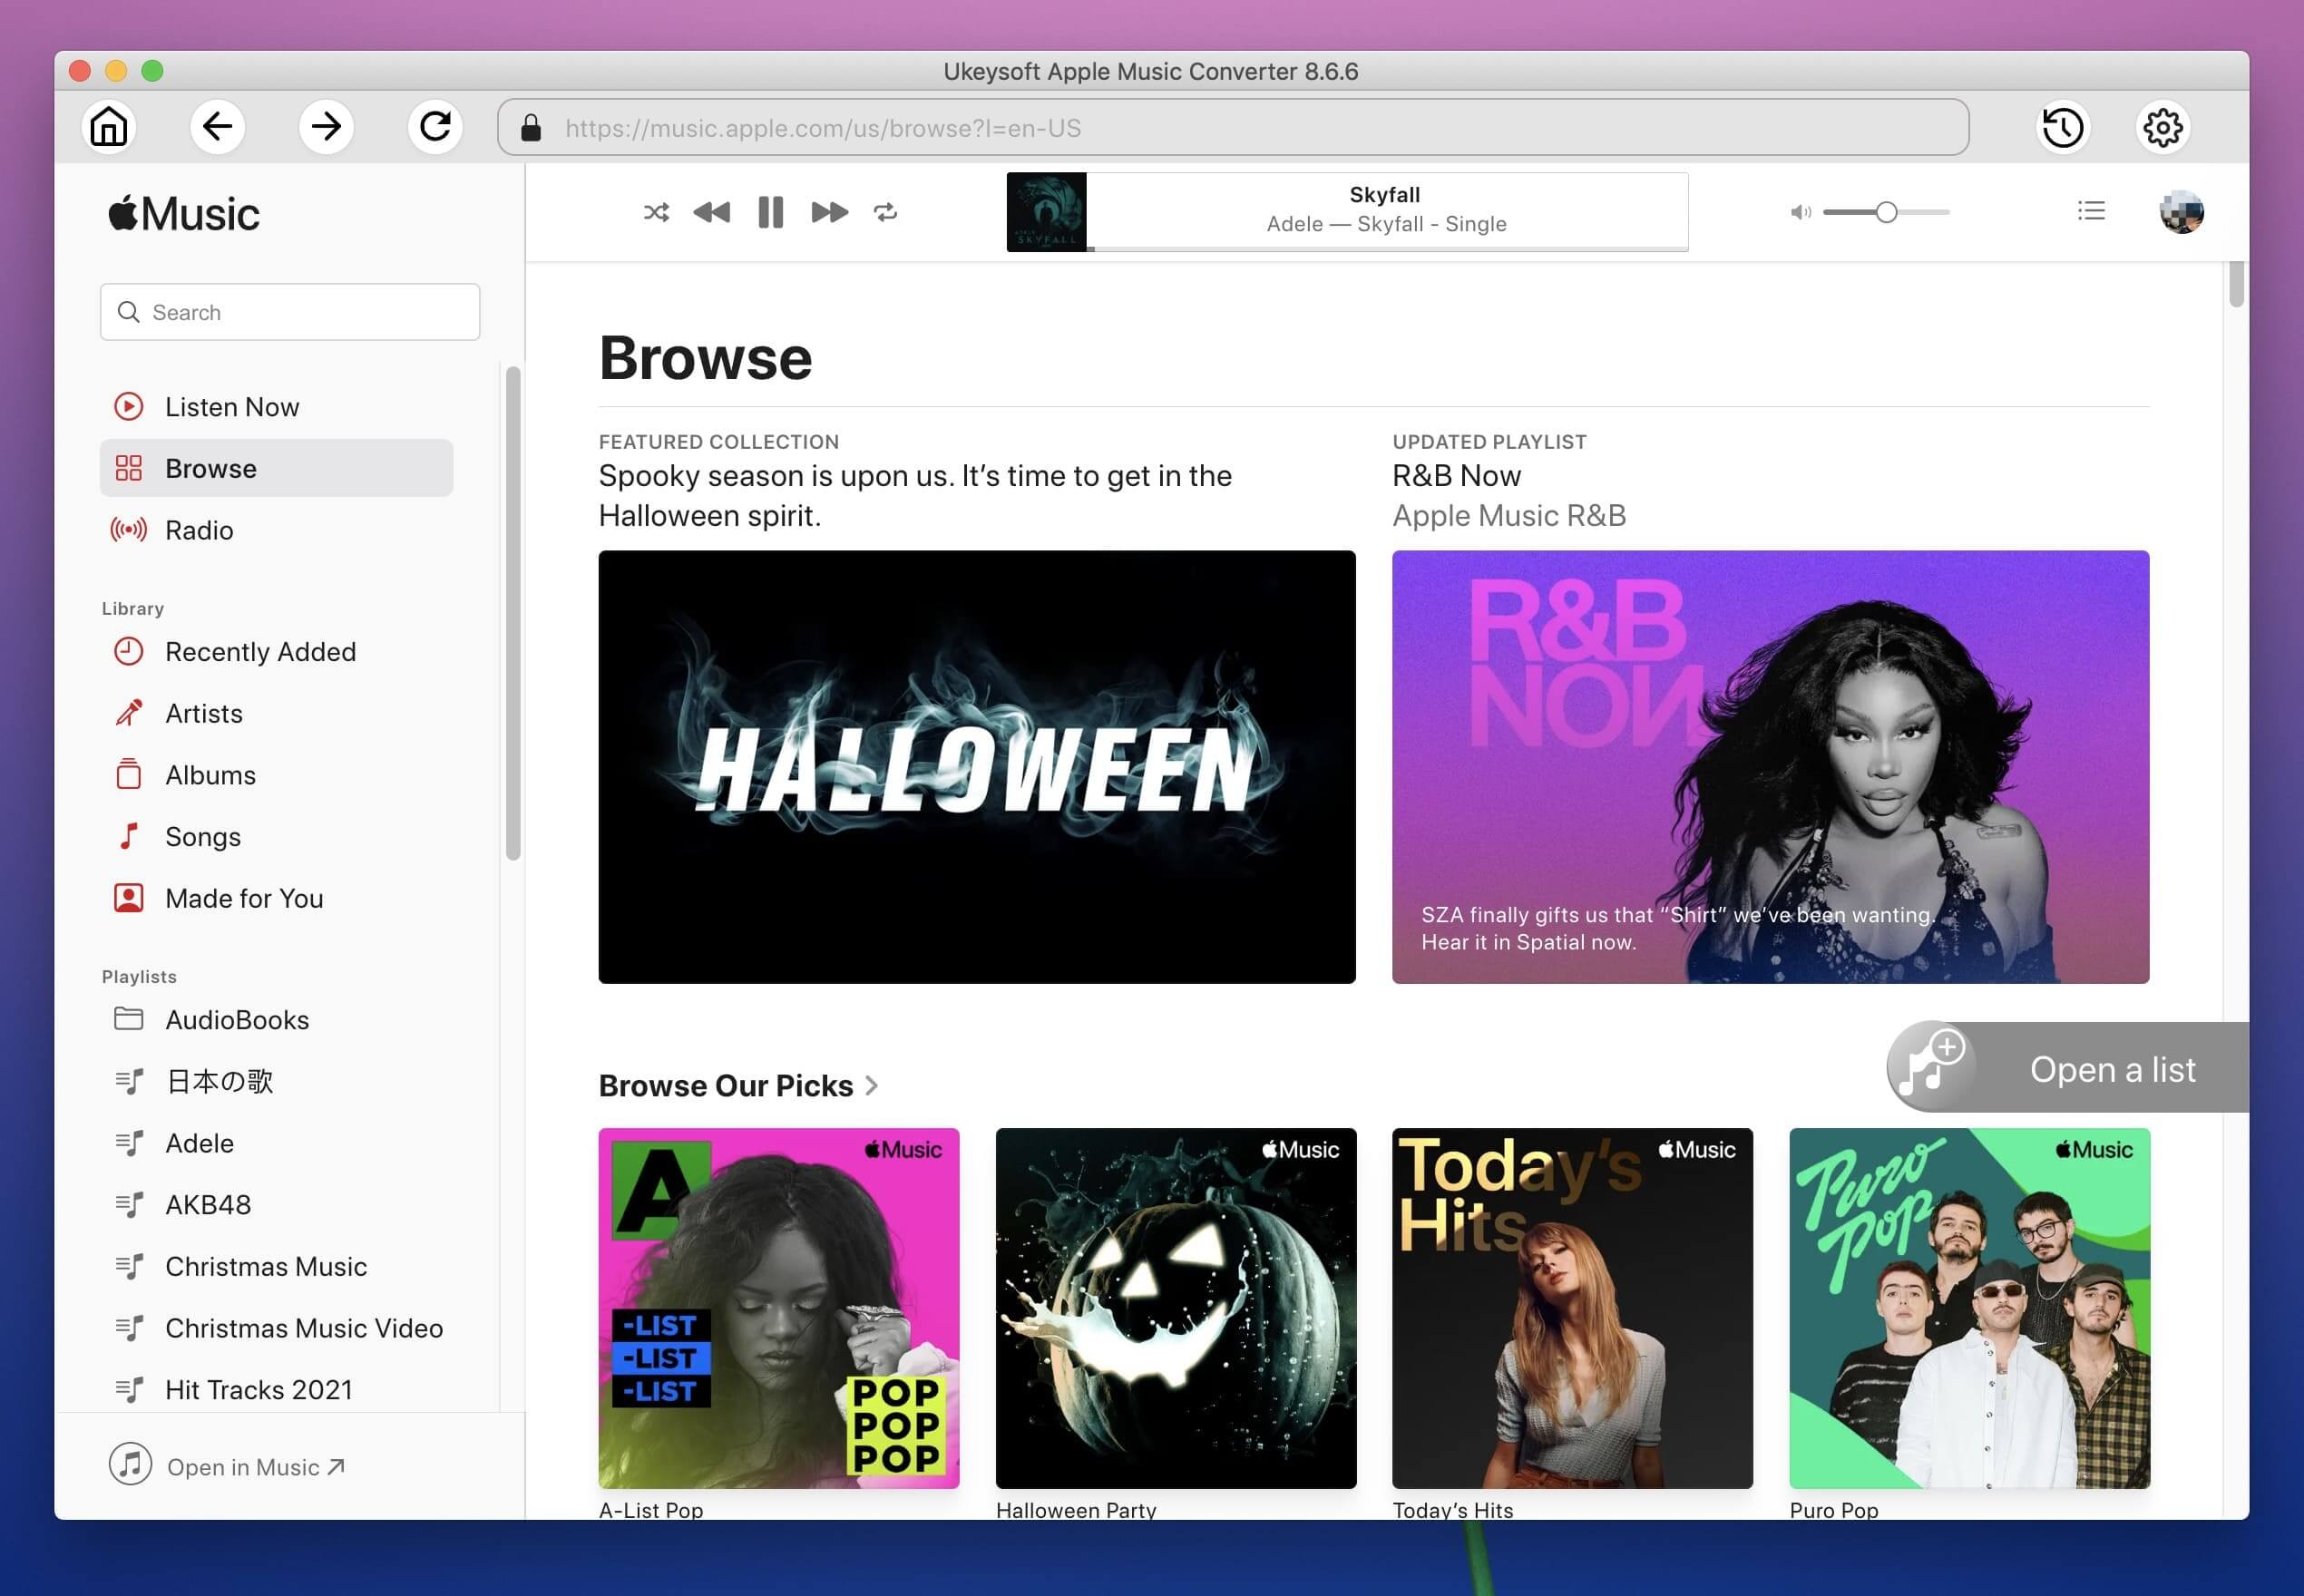
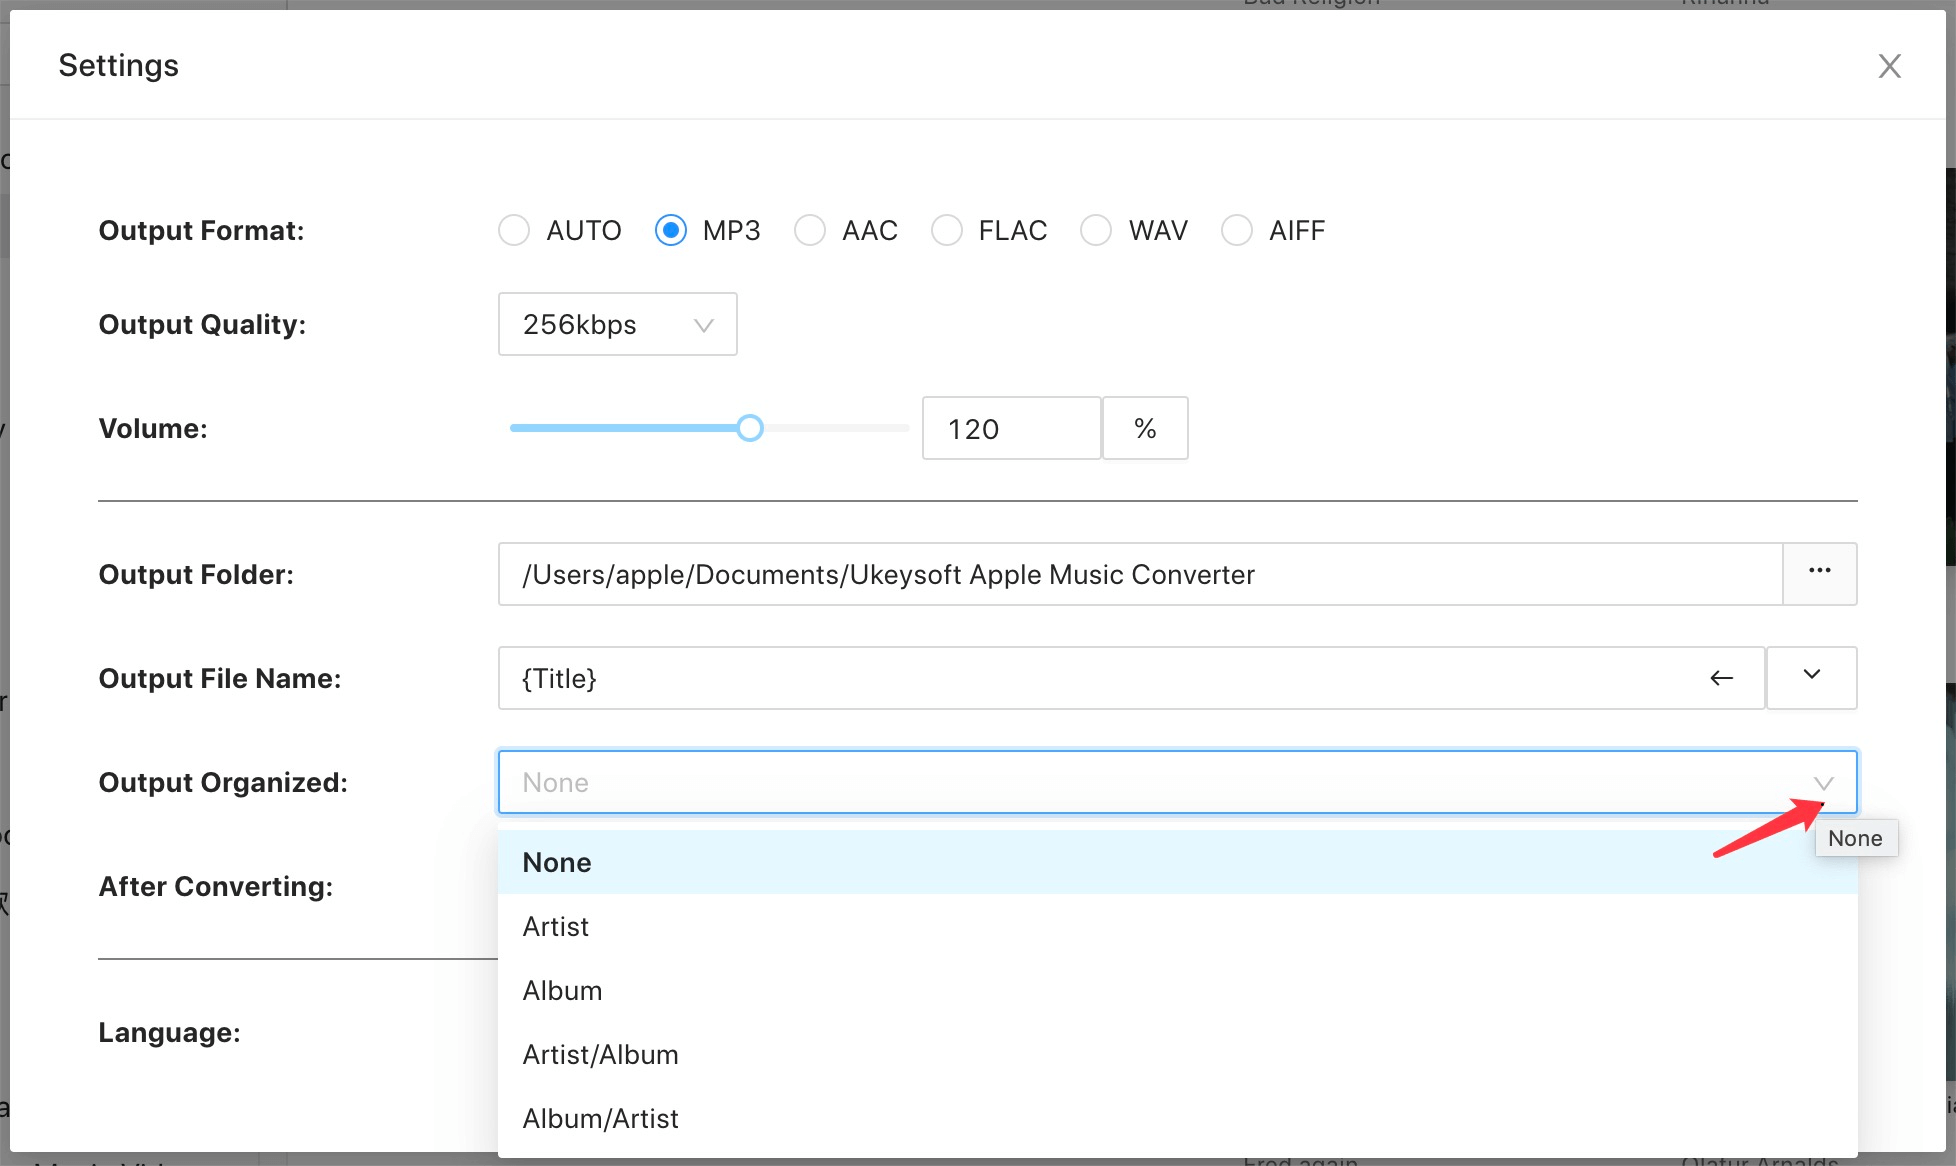
Step 2. Choose MP3 as Output Format
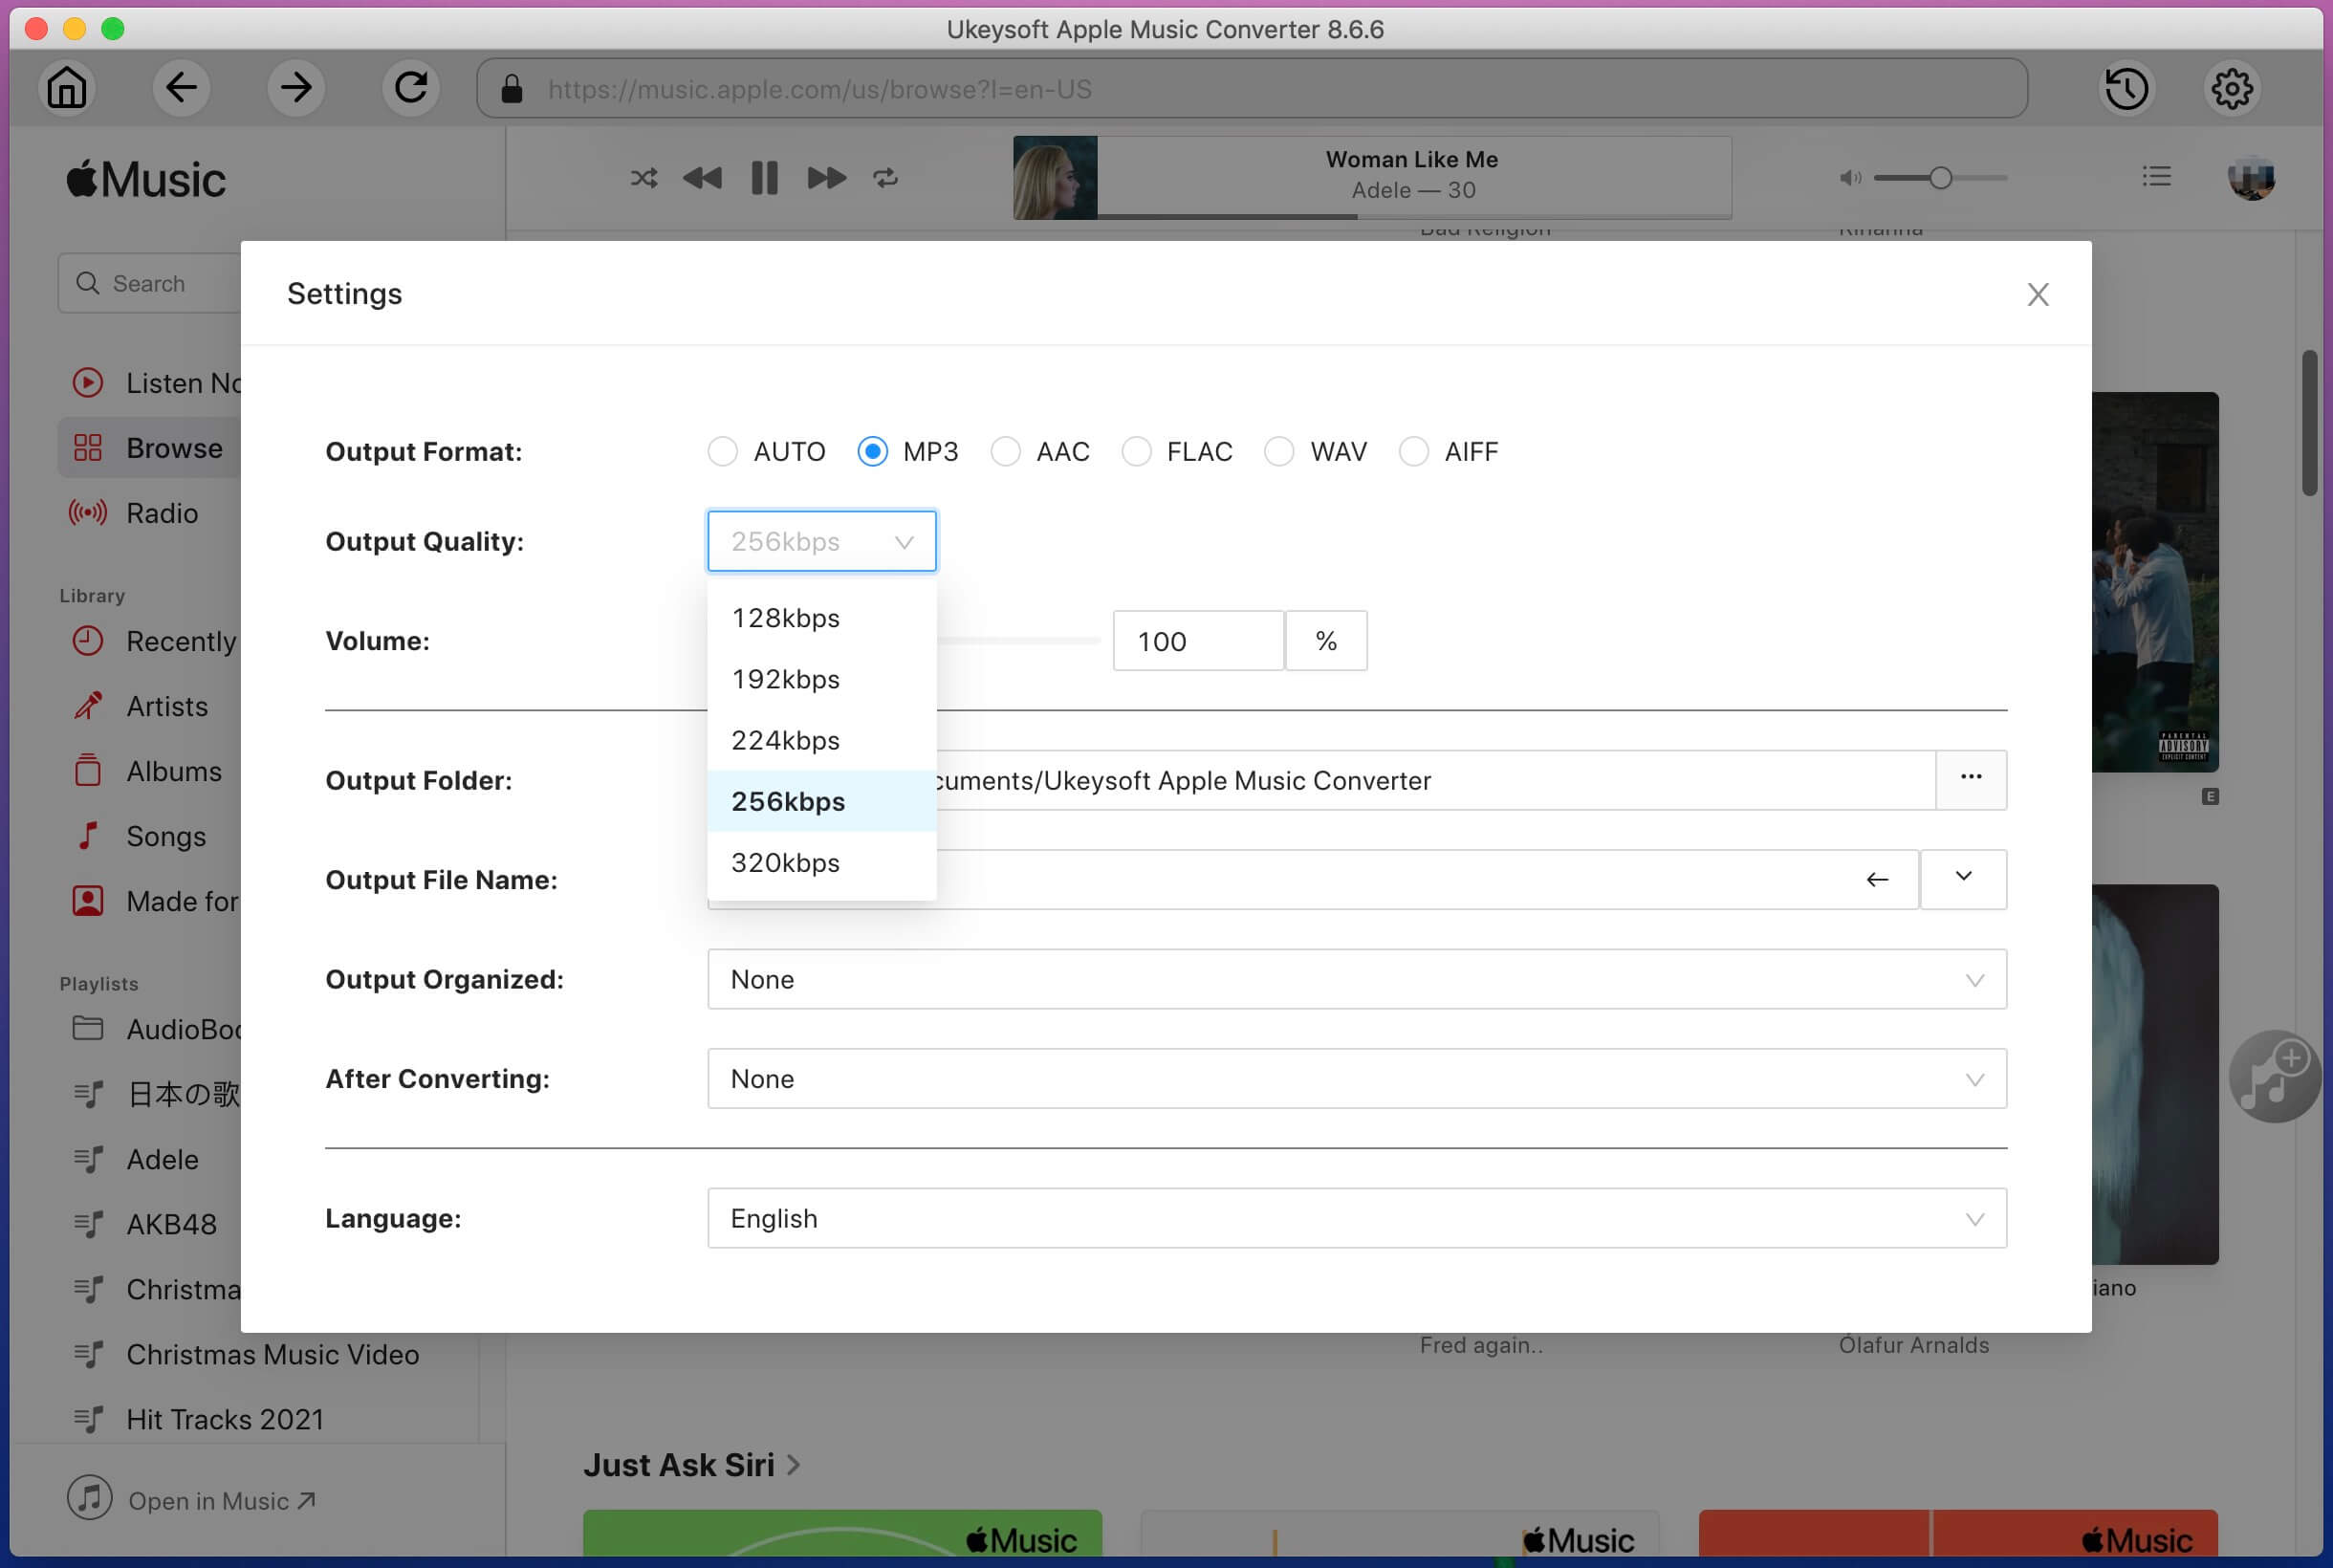
Click on the Gear icon at the upper right corner. The default format is AUTO M4A. Then, please choose a output format you want, this software allows you to convert Apple Music to DRM-free MP3, M4A, AAC, WAV, AIFF, FLAC audio files, because the MP3 and M4A format are the most popular output audio formats that most devices and players supported, so we recommend you select "MP3" or "M4A" as output audio format.
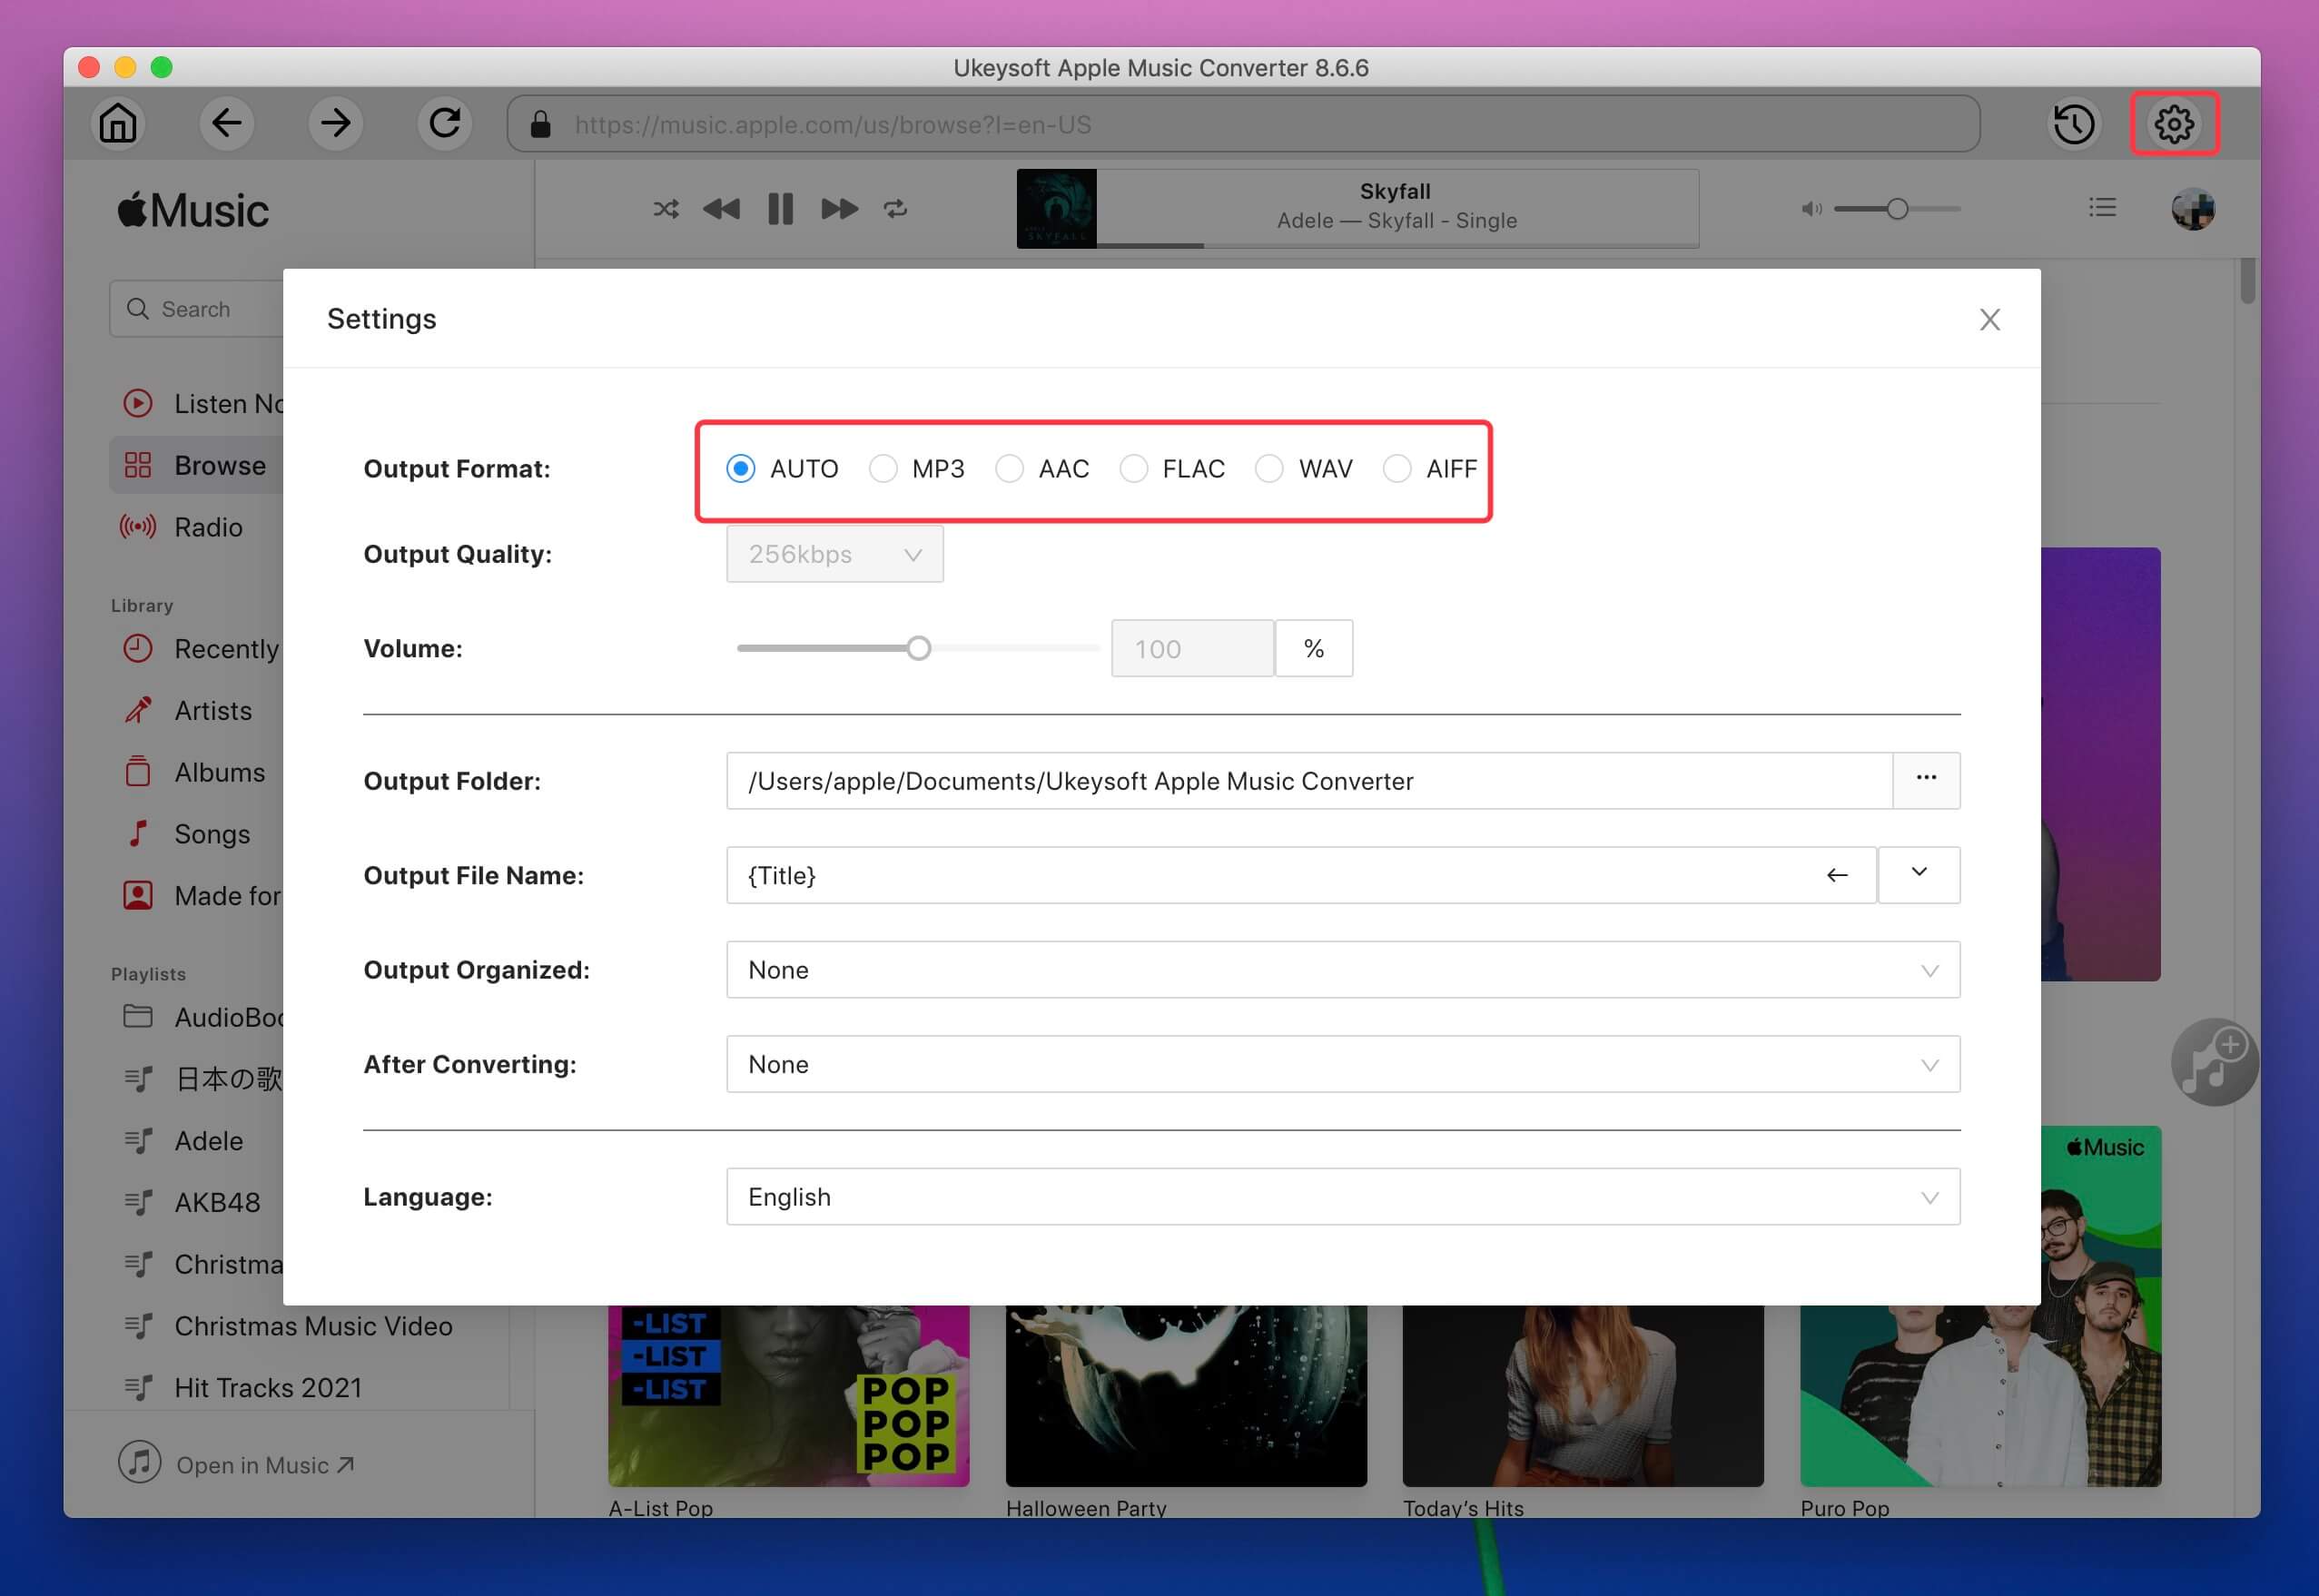
For each output format, the UkeySoft Apple Music Converter provides different output quality options: High, Normal and Low with different Bitrate, SampleRate and channels. You can also customize the Volume as you like.
Output file name can contain Title, Artist, Album, TrackID and DiskID. Click the down arrow to customize output file name format if you like.
Step 3. Select Apple Music Songs You Want to Remove DRM from
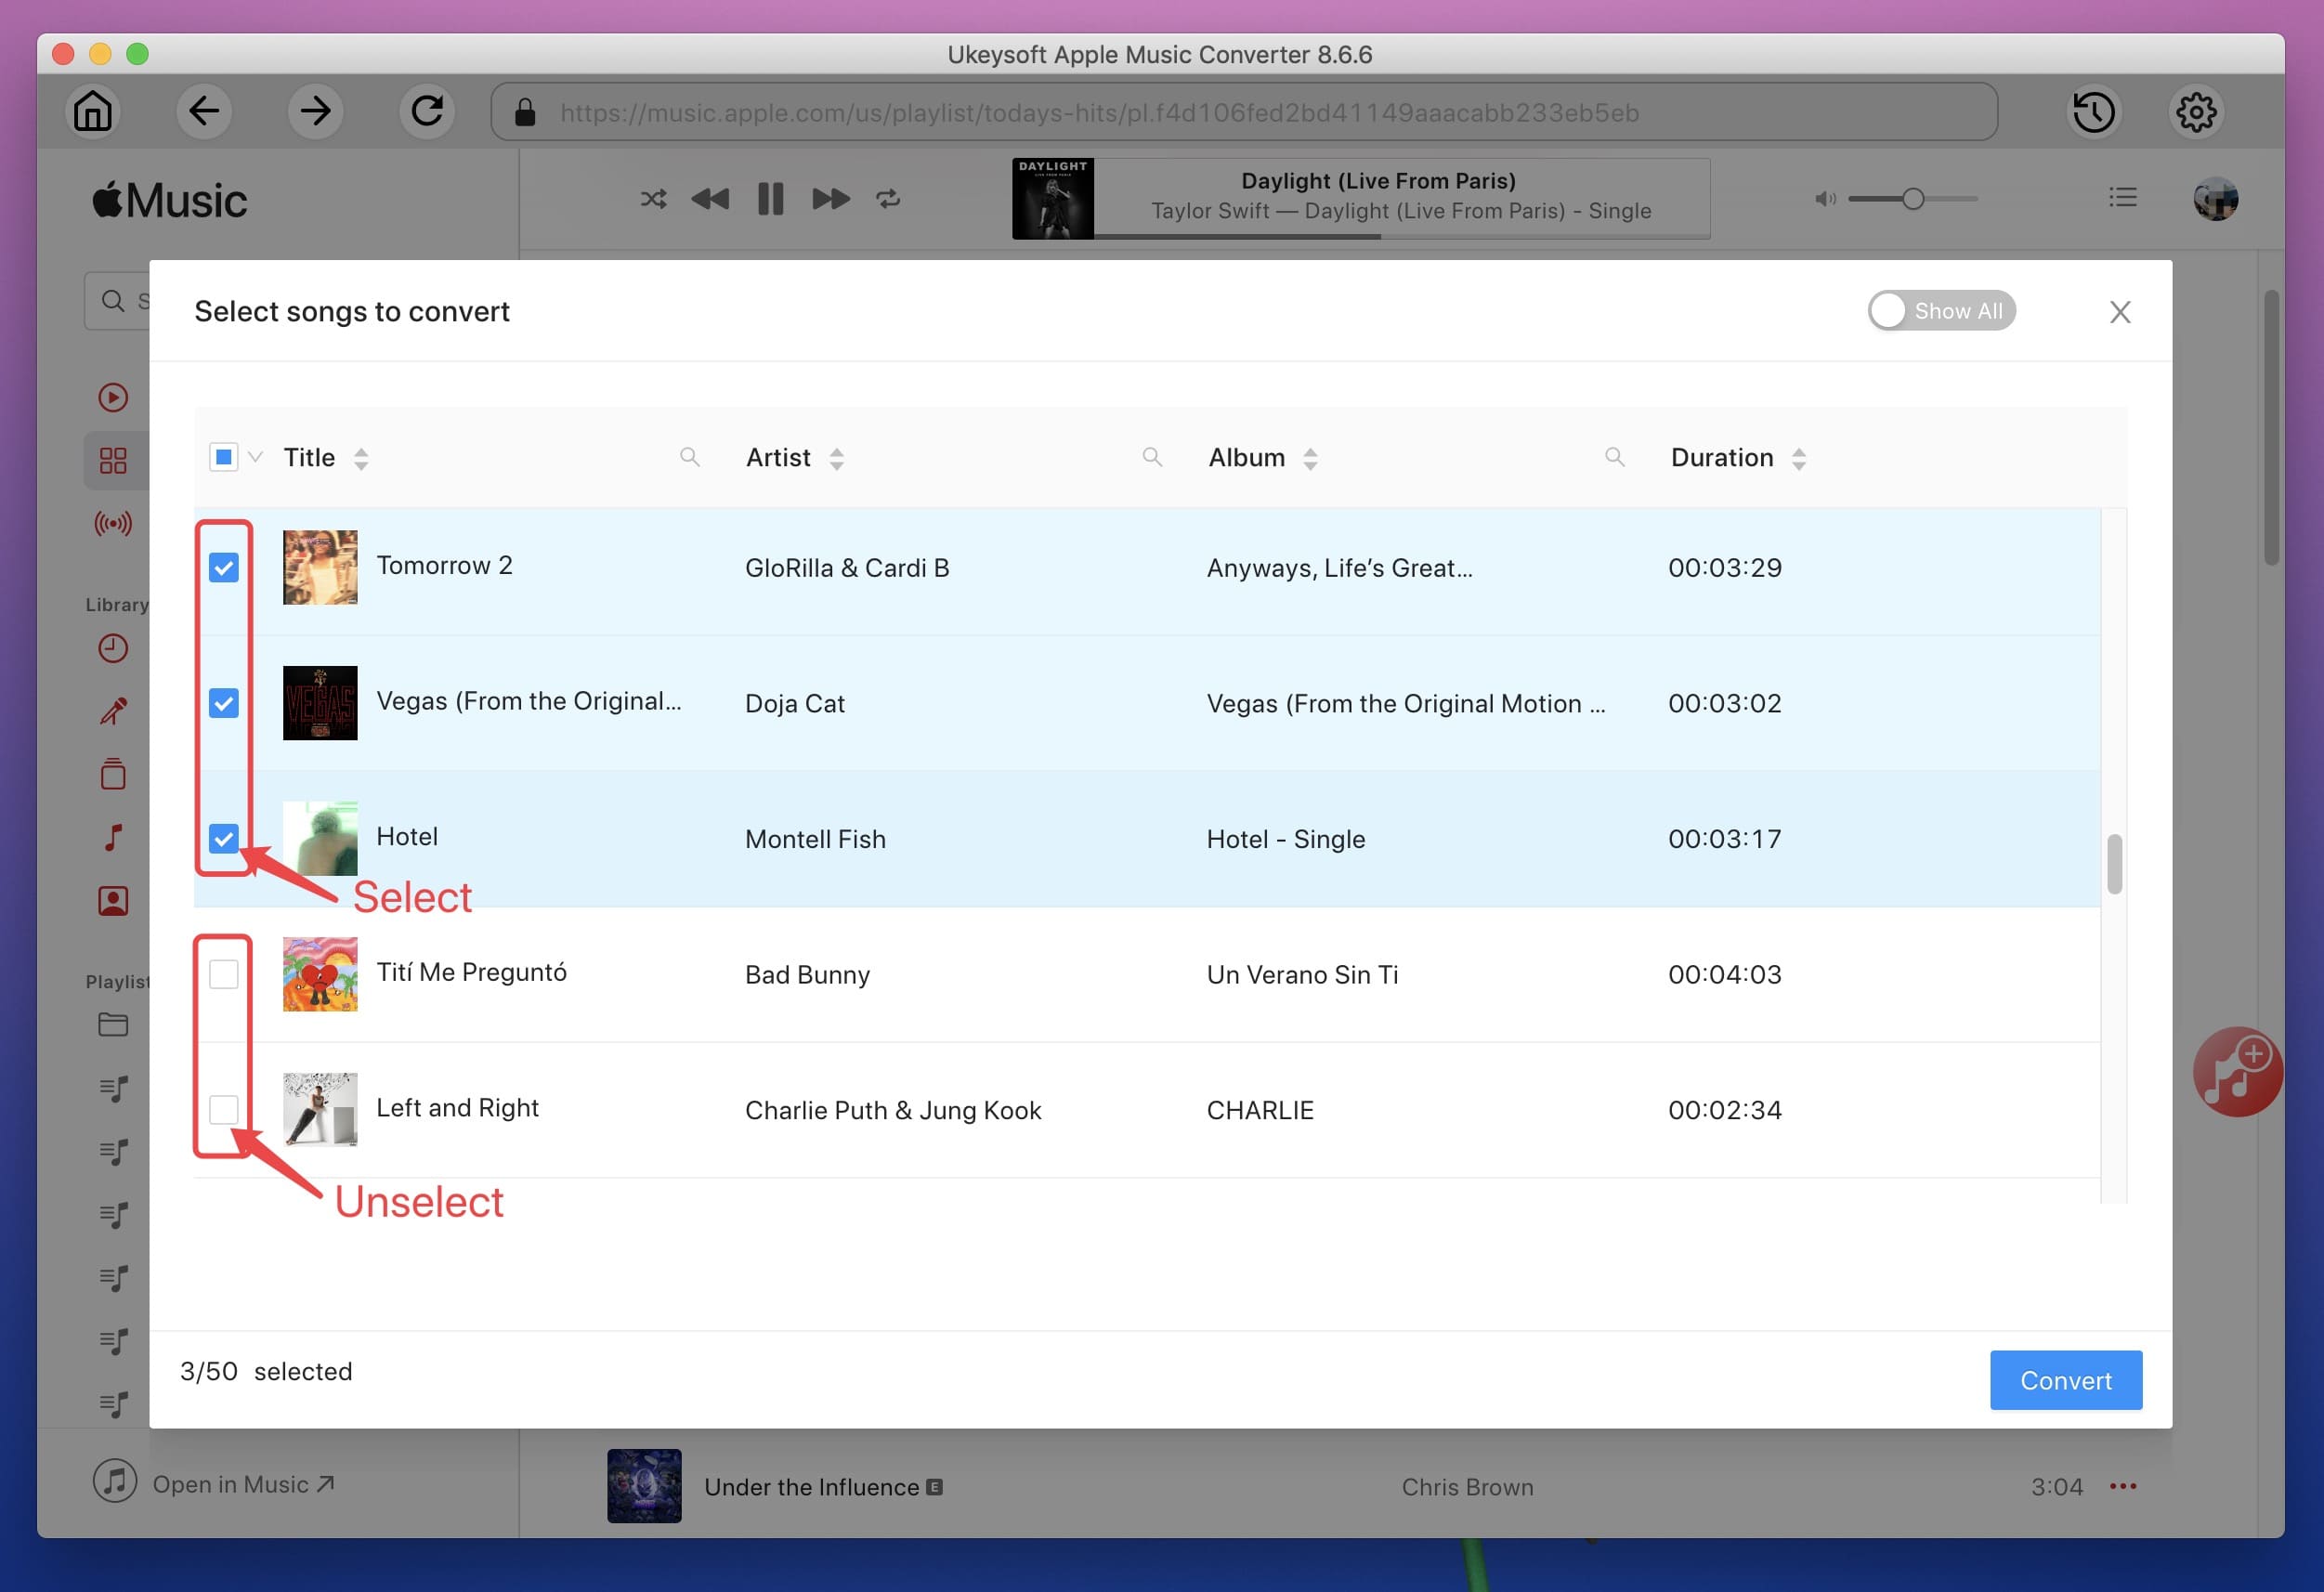
After setting the output format you want, you need to add Apple Music tracks to the program. You can use the "Search" function to directly locate the Apple Music songs/playlists, and play the songs online. If you like the song, tick the red "+" icon in the right side.

If you select a playlist/album/artist, all songs in the playlist will be displayed in the converting list. Check and choose the desired Apple Music songs you want to save.
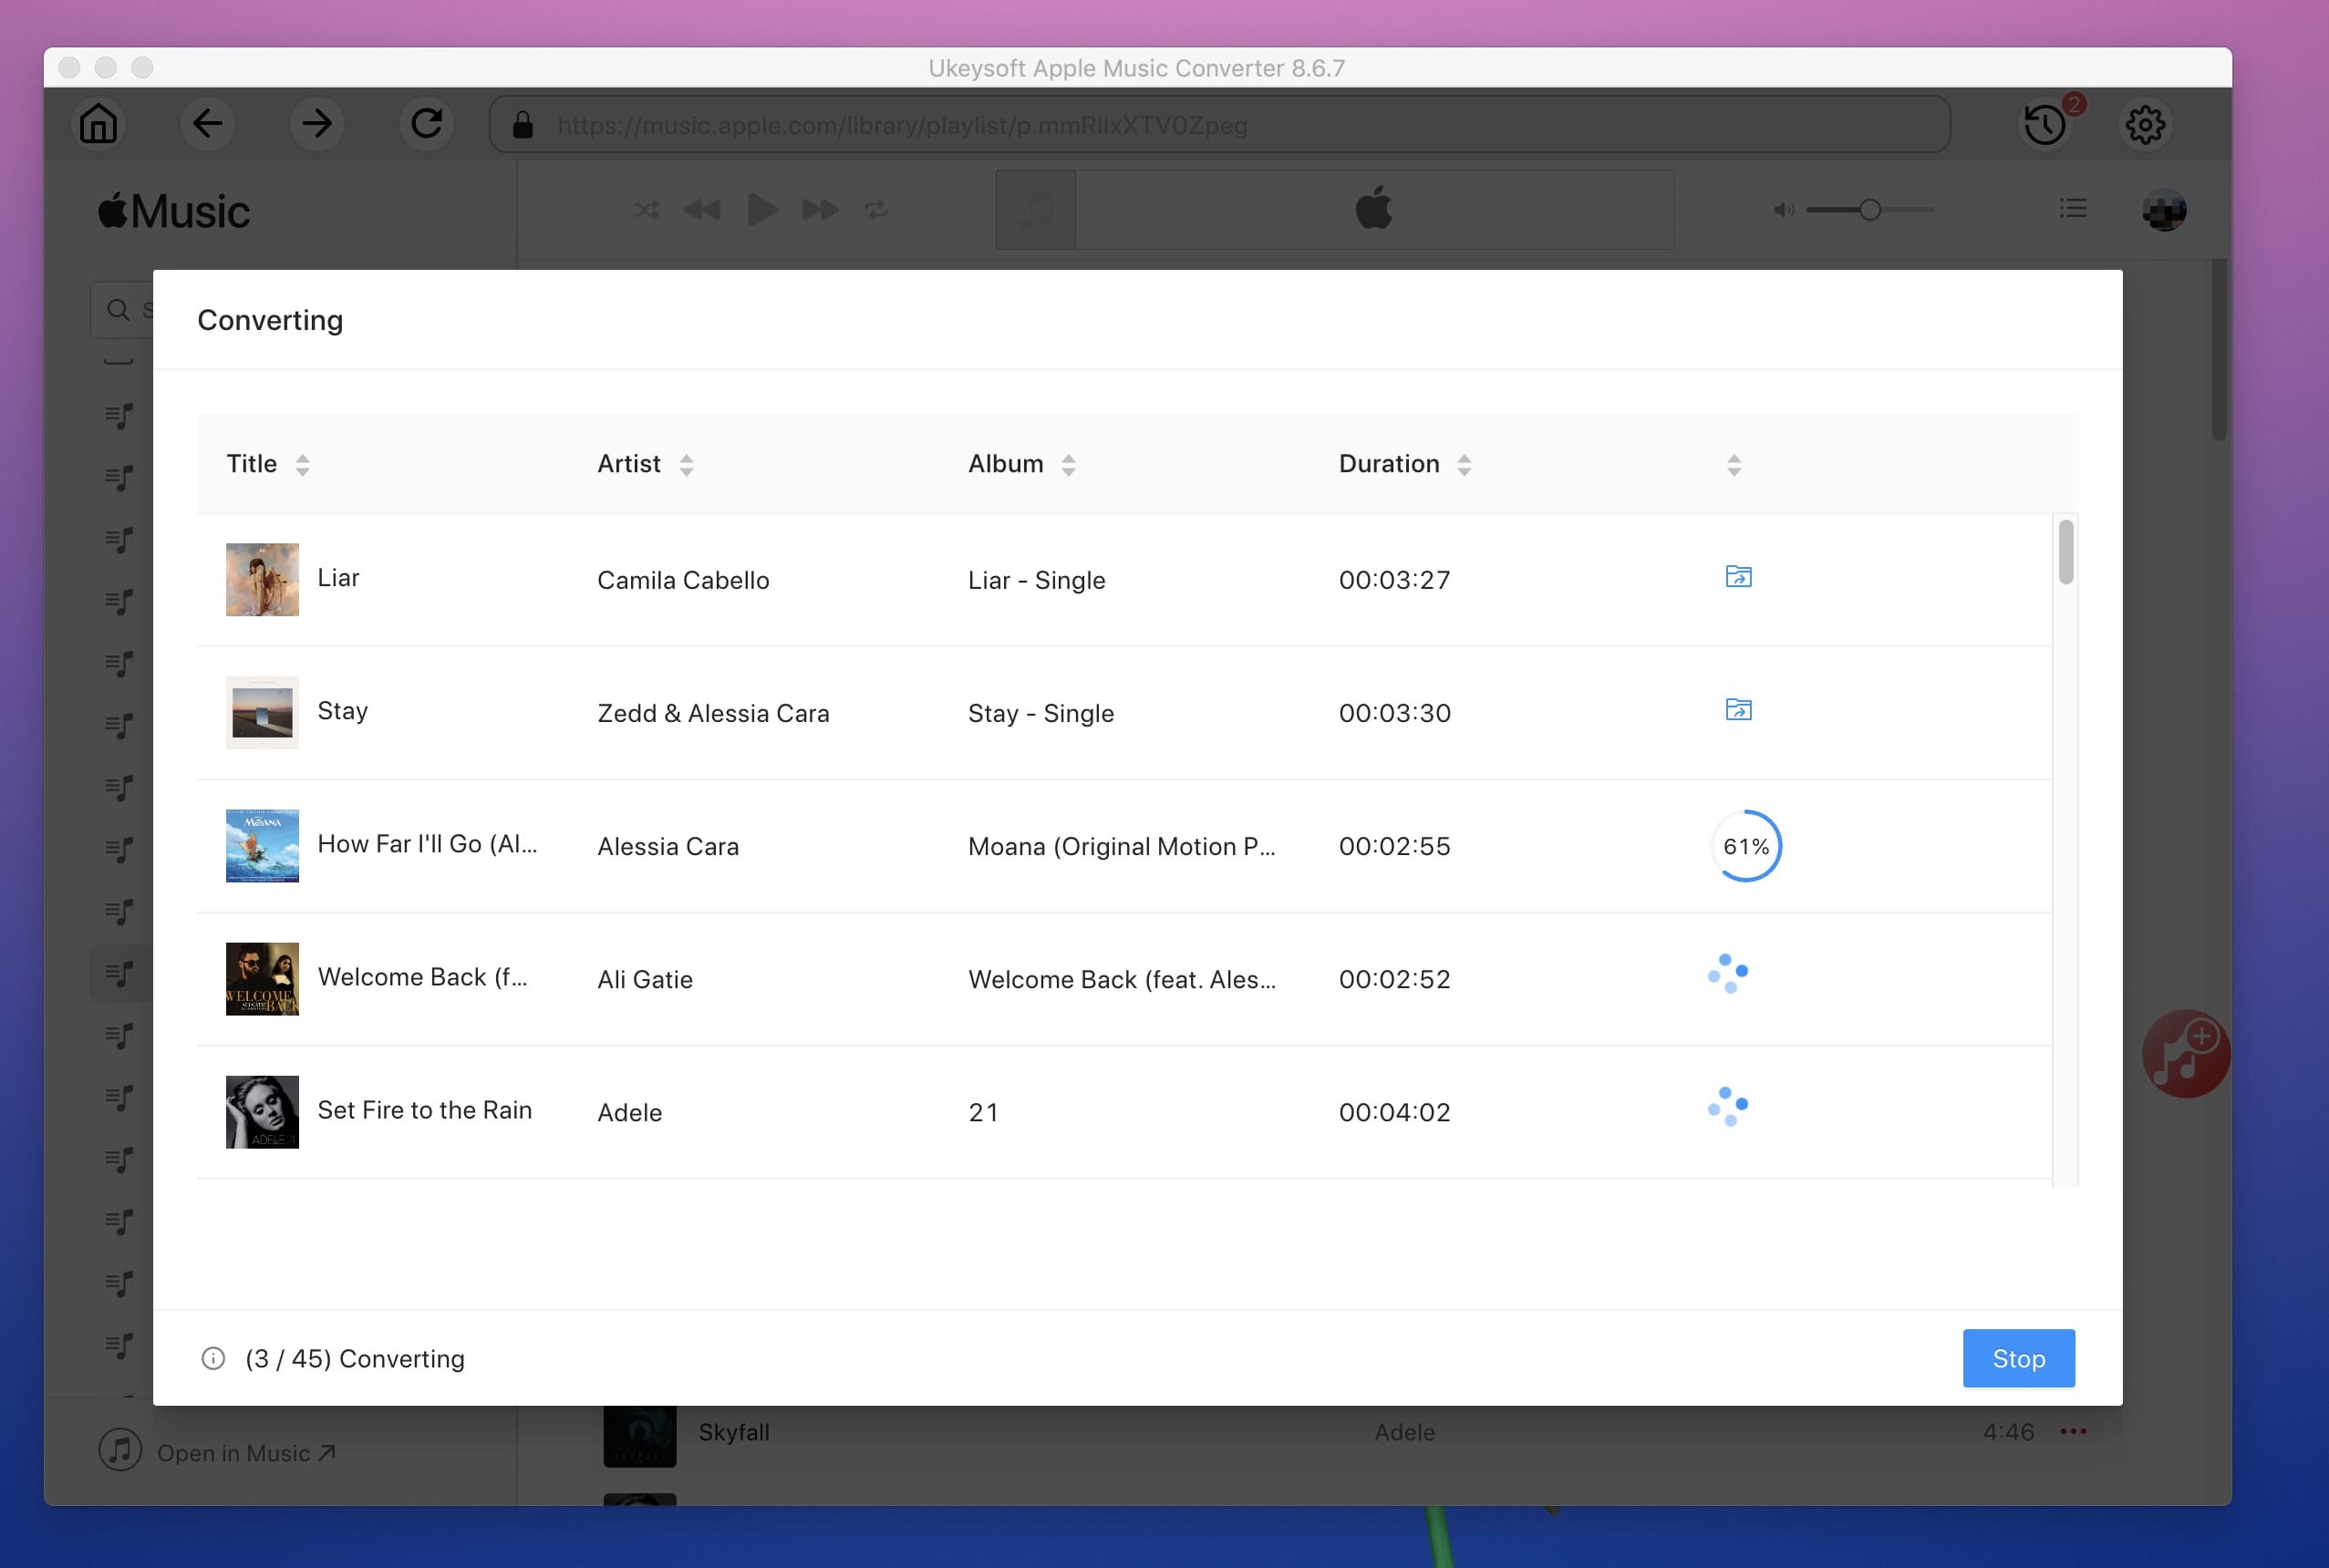
Step 4. Download Apple Music to MP3
Hit on "Convert" button to start downloading and converting Apple Music to MP3 format.
When the downloading process is done, you will get the DRM free Apple Music by clicking the "History" icon. Click the blue icon, and you will see all downloaded Apple Music songs saved as MP3 format.
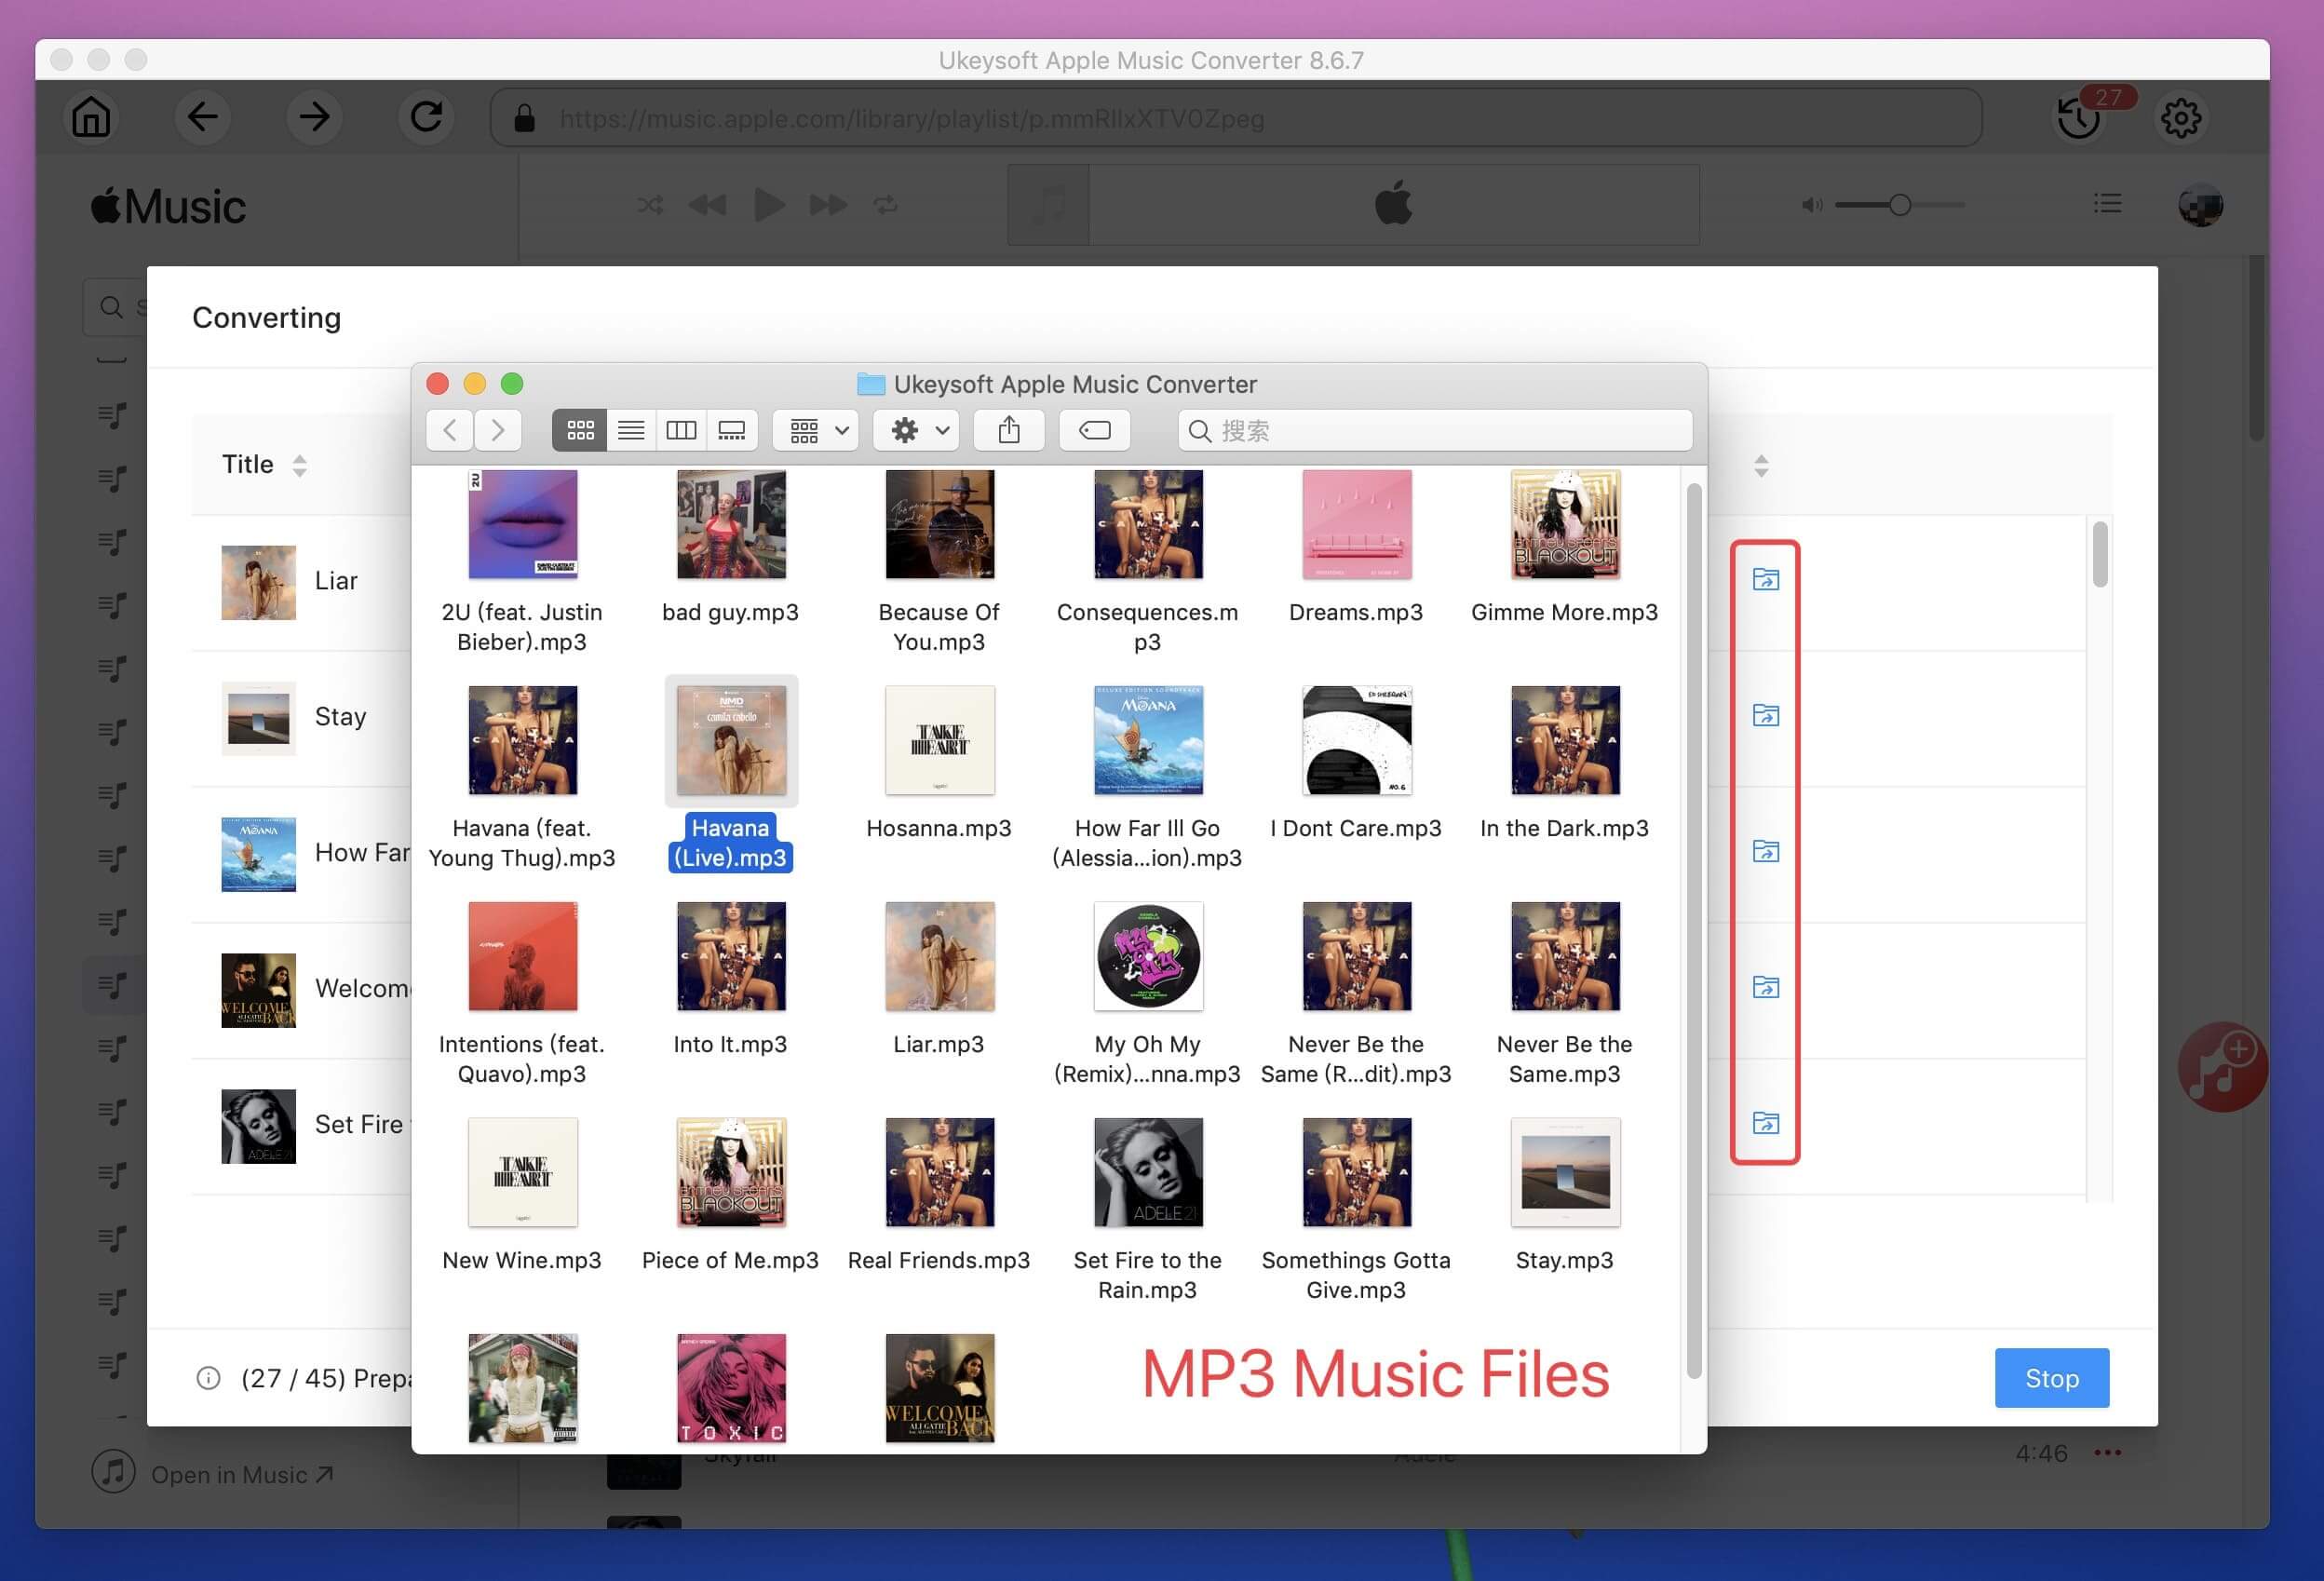
Now, you can transfer the downloaded Apple Music songs(MP3 files) to your USB drive and other devices.
Tip: System Requirements:
Windows 7 or later on 64bit required
Method 2. Download and Transfer Apple Music to USB Drive via Online Tool
Above tutorial, we have taught you how to download Apple Music to MP3 in batch via desktop software, you can also use Online Apple Music Downloader to download Apple Music to MP3. This online tool is free, you can easily save Apple Music songs as local MP3 files by copying and pasting the music link. Although this tool is free and easy-to-used, it requires you to only download individual songs one-by-one, this online tool can’t download a playlist or an album in batch. Here’s how you use it.
Download Apple Music Songs to USB Drive for Free via Online Tool
Verdict
If you want to download whole playlist or albums to USB drive, try UkeySoft Apple Music Converter, it is the best Apple Music playlist downloader to download Apple Music playlist/albums to MP3 players in bach, up to 16X fast speed.
Step 2.
Copy the link of the Apple Music song that you want to download from Apple Music app, iTunes or Apple Music web player.
Step 3.
Paste the music link into the website’s "Address bar" and click the "Start" button to start analyzing the Apple Music link.
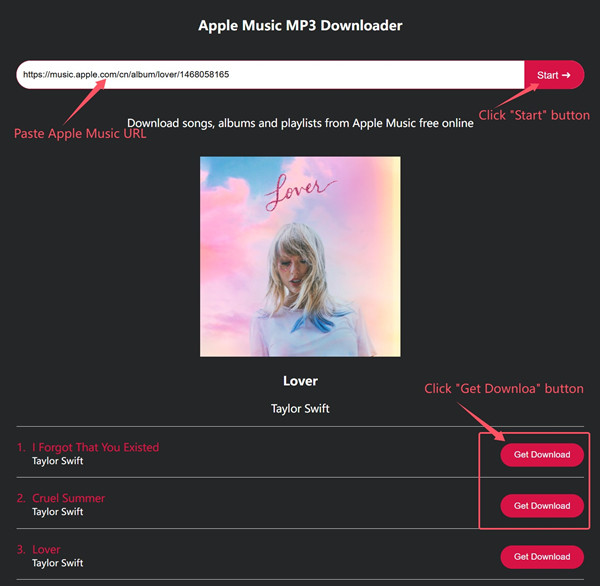
Step 4.
Please select your preferred download option, and then click the "Get Download" button.
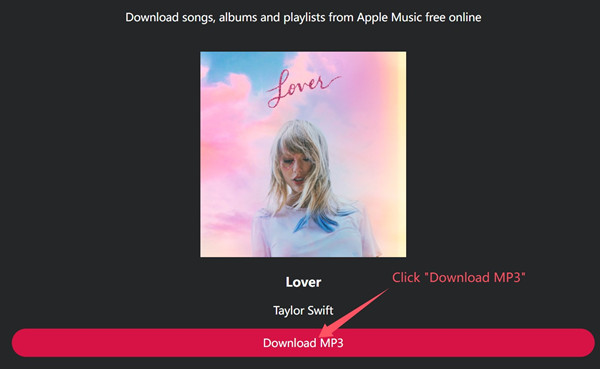
Step 5.
Then, clicking the "Download MP3" button to confirm the downloading, this online Apple Music downloader tool start downloading MP3 Apple Music song computer.
Step 6.
Once downloading completed, please go to the downloaded music folder, you will get MP3 music files. Now, you can put them into USB flash drive.
Part 3. How to Transfer Purchased Apple Music and iTunes Music to a USB Drive
If you have added the local songs to the iTunes library or purhcased Apple Music on iTunes store, you can directly transfer them to USB flash drive, USB stick, external USB drive, thumb drive, memory card, SD card or USB pen drive. It's very easy to copy the purchased Apple Music or iTunes music to USB drive.
When the songs are dragged and dropped to the USB flash drive, the mouse will automatically show a + sign, it means that those iTunes songs can be copied to the USB flash drive directly.
Let’s teach you how to copy the local songs from iTunes library to USB drive.
Guide: Transfer Purchased Apple Music and iTunes Music to a USB Drive
Step 1.
Plug in the USB flash drive into a USB port of your computer, the computer will detects it automatically, then open the folder of your USB drive on your desktop.
Step 2.
Open iTunes and choose the songs or playlist that you want to copy, make sure all songs in the iTunes are DRM-free audio files, as shown in the screenshot below, this is an mp3 song.
![mp3 songs in itunes library]()
There are four ways to select the songs in your iTunes library that you want, as follows:
1) If you want to copy a song from iTunes to the USB drive, just click one song to select it.
![local mp3 songs in itunes]()
2) To select a range of songs, click the first, hold Shift, and click the last.
3) To choose a bunch of selected songs that are not in order, hold the CTRL key and click each one.
4) To select all the songs in the same playlist, click one, and then CTRL+A.
Step 3.
After selecting song(s) in the iTunes library, simply drag them into the USB drive’s folder.
![transfer itunes music to usb drive]()
It starts transfering songs from iTunes library to the USB drive, the time required for the transfer process depends on the number of songs and the capacity of the file.
Step 4.
Well done, you have export music from iTunes to USB or flash drive successfully.
![itunes music in USB drive]()
Now, you can play iTunes music in car or everywhere via USB flash drive.
Part 4. How to Transfer Downloaded Apple Music to a USB Drive
With UkeySoft Apple Music Converter or online Apple Music Downloader, you have downloaded Apple Music to MP3 files, those downloaded MP3 music files are really belong to you, you can use, share or transfer them freely. Now, you can transfer Apple Music to USB flash drive for playing anywhere. Let’s teach you how to your downloaded MP3 Apple Music songs from PC/Mac to a USB drive.
Transfer Downloaded Apple Music from PC to a USB Drive
Step 1.
Please connect your USB flash drive to the computer via the USB port, then you will see the USB flash drive is listed in "This PC."
Step 2.
Find the downloaded Apple Music tracks on your PC and open the folder.
Step 3.
Then open the USB drive folder on your computer. Then you can copy and paste the converted Apple Music files to your USB drive's folder. You can also drag and drop music files to USB drive directly.

Step 4.
After the transfer finishes. Please disconnect the USB drive with computer safely, you will successfully finish downloading and transferring Apple Music to USB drive, and you can play Apple Music in your car, PSP, smart speakers, and more devices via plugging in USB flash drive.
Transfer Downloaded Apple Music from Mac to a USB Drive
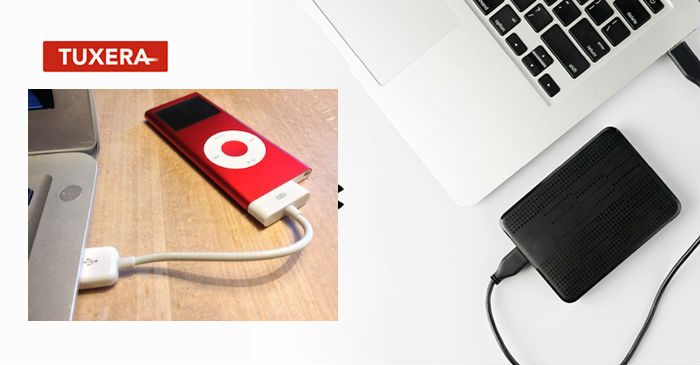
For Mac users, you can't transfer music files from Mac to USB drive directly, due to the macOS does not support writing to Microsoft Windows formatted NTFS volumes out-of-the box. In this case, we recommend you install Tuxera Microsoft NTFS for Mac on your Mac computer first, this tool provides 15 days free usage for new users.
After launching this Tuxera Microsoft NTFS tool on Mac, you can access your USB drive as easily as any Mac disk. Then, please insert your USB flash drive into the Mac, you can transfer the downloaded Apple Music songs from Mac to USB drive directly.
Step 1.
Launch Tuxera Microsoft NTFS for Mac tool on Macbook.
Step 2.
Connect your USB drive with Macbook.
Step 3.
With the help of Tuxera Microsoft NTFS for Mac, once connecting your USB flash drive to Macbook, the USB drive will be considered as a portable storage device, please open the USB drive's folder.
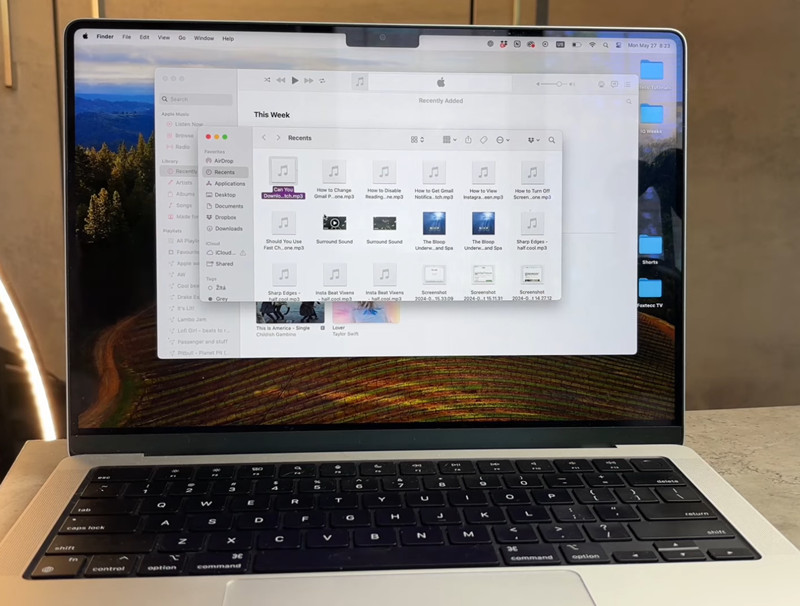
Step 4.
Locate the downloaded MP3 Apple Music from the save path. Similarly, drag and drop them to the USB drive, which is listed below Locations in the Finder sidebar.
Step 5.
Once transferred, please disconnect the USB flash drive with your Mac, you have successfully finish transfer Apple Music from Mac to USB drive. Now, you are able to play Apple Music on any devices via a USB drive.
Part 5. FAQs on Transferring Apple Music to USB Drive
Q1: Why Can't I Download Apple Music to USB Drive Directly?
Apple Music is protected by DRM (Digital Rights Management), so it is not possible to directly download music from Apple Music to USB drive. Even you have downloaded Apple Music tracks to computer, all Apple Music downloads are streamed and not owned, Apple uses DRM to prevent unauthorized copying, transferring and distribution.
To transfer Apple Music to a USB drive, you'll need to remove the DRM and convert Apple Music files to DRM-free format like MP3, AAC, M4A, FLAC or WAV. As in the tutorial above, you can use UkeySoft Apple Music Converter to convert Apple Music songs/playlist/albums to MP3, and then put the MP3 music files to USB drive.
Q2: What Devices are Supported to Play Songs in USB?
After converting Apple Music to MP3 and transferring them to a USB flash drive, you can play Apple Music from a USB drive, including car stereos, smart TVs, game players, portable music players, and even some smartphones and tablets. Car stereos often support MP3 and WAV formats, while portable players like the FiiO M5 and Hidizs AP80 Pro support various formats including FLAC. Some Android devices also allow playback from USB drives, though app compatibility can vary.
So, you can use the UkeySoft to convert Apple Music to WAV, MP3, M4A, FLAC, and more formats for playing on any devices offline.
Q3: Can I Keep Apple Music Songs on a USB Drive Forever?
Yes! With the help of UkeySoft Apple Music Converter, you can download Apple Music files to your USB drive and save them forever, because those downloaded music files saved as local files, you really own those songs now! By the way, you can play Apple Music songs on multiple devices offline even after cancel Apple Music subscription.
Final Words
With the help of UkeySoft Apple Music Converter, you can convert Apple Music to MP3, M4A, FLAC, WAV and more plain audio formats, then copying them to USB drive freely, it is the best way to keep Apple Music forever. What's more, if you want to get high quality music files, UkeySoft supports to convert Apple Music songs from 256kbps AAC to 320kbps MP3, so that you can get Apple Music as 320kbps MP3 files.
Transfer Apple Music to USB Drive

Justin Sabrina has always had great enthusiasm for writing, programming and web development. He likes writing about software and technology, his works are featured on some tech blogs or forums like Tom's Hardware, CNET, etc.


No comment yet. Say something...